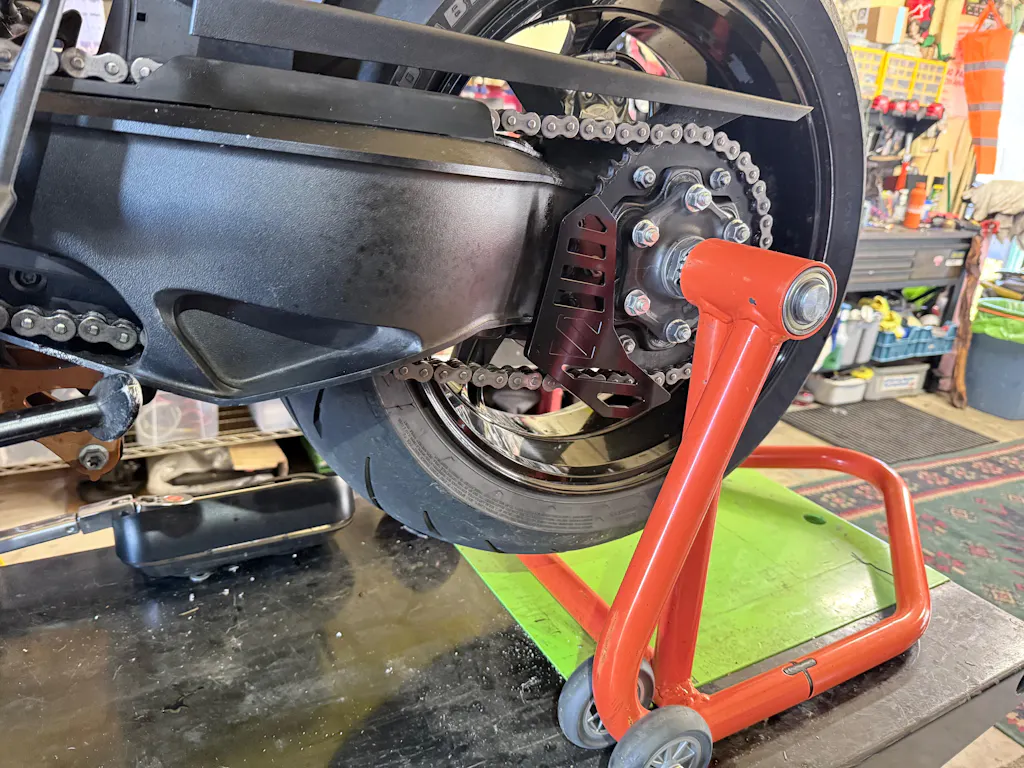
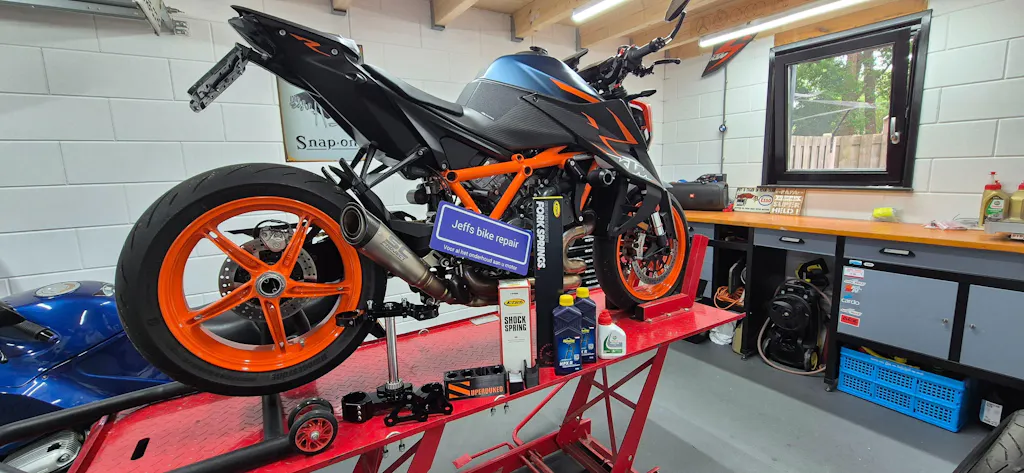
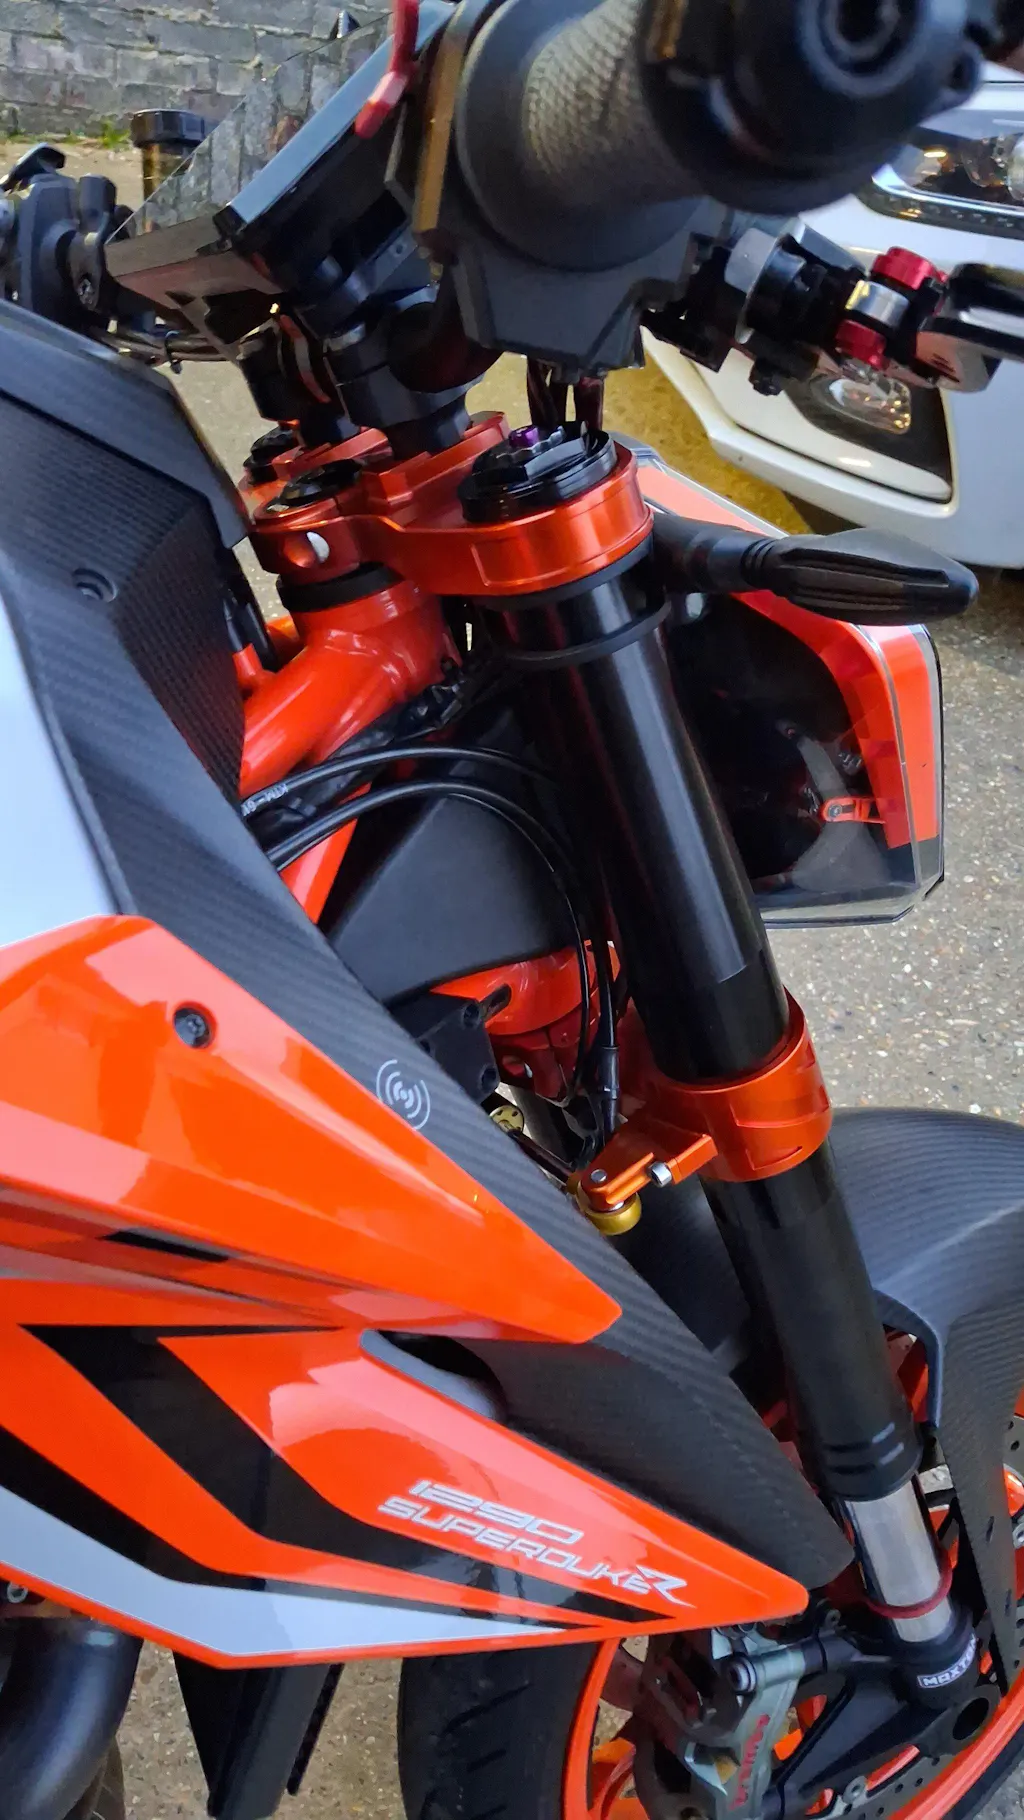
What a difference!!! Thank you Erik!! Truly a different bike, it steers more easily and holds its line. Accelerates much better thanks to the anti-squat. Really gives you so much more confidence to accelerate earlier and faster!! What did I do? Different gearing and chain, 16-39 with 114 link, chain, 10+ Superlink and a Superclamp with +3 insert 👌👌👌 Regards @Jeffs_bikerepair
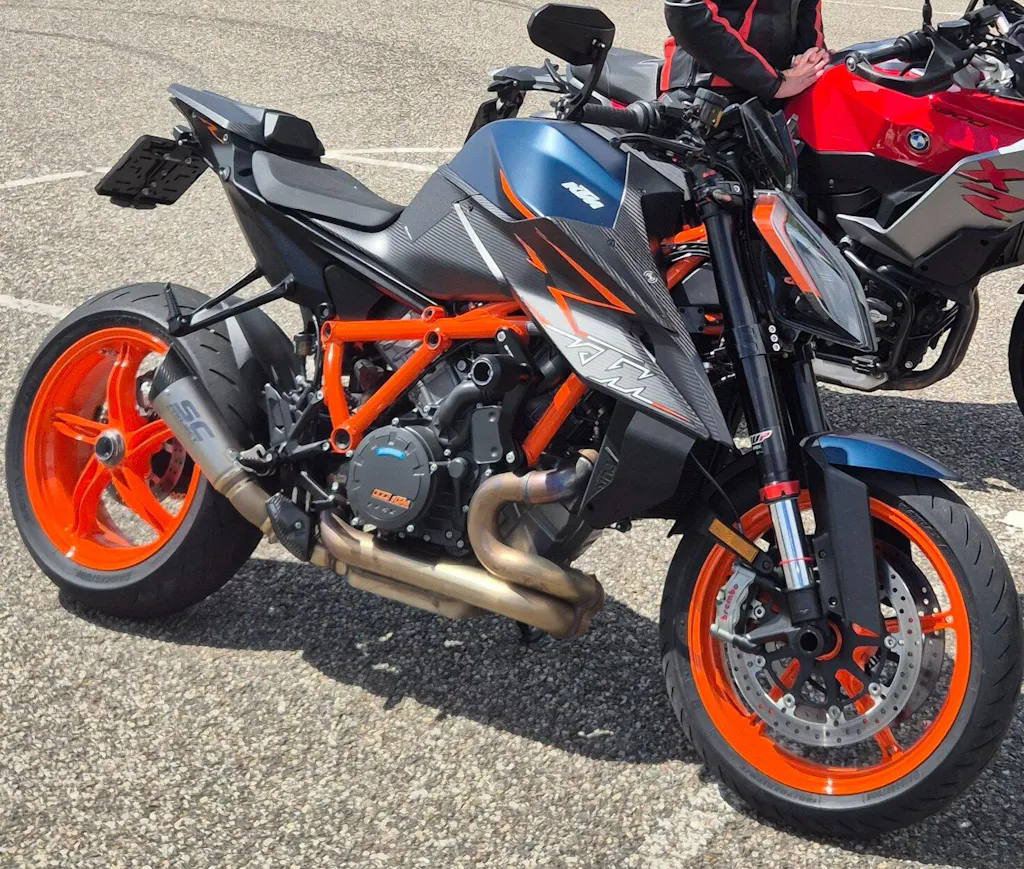


Fantastic products, quality 100% For anyone who wants there Superduke taking to the next level.
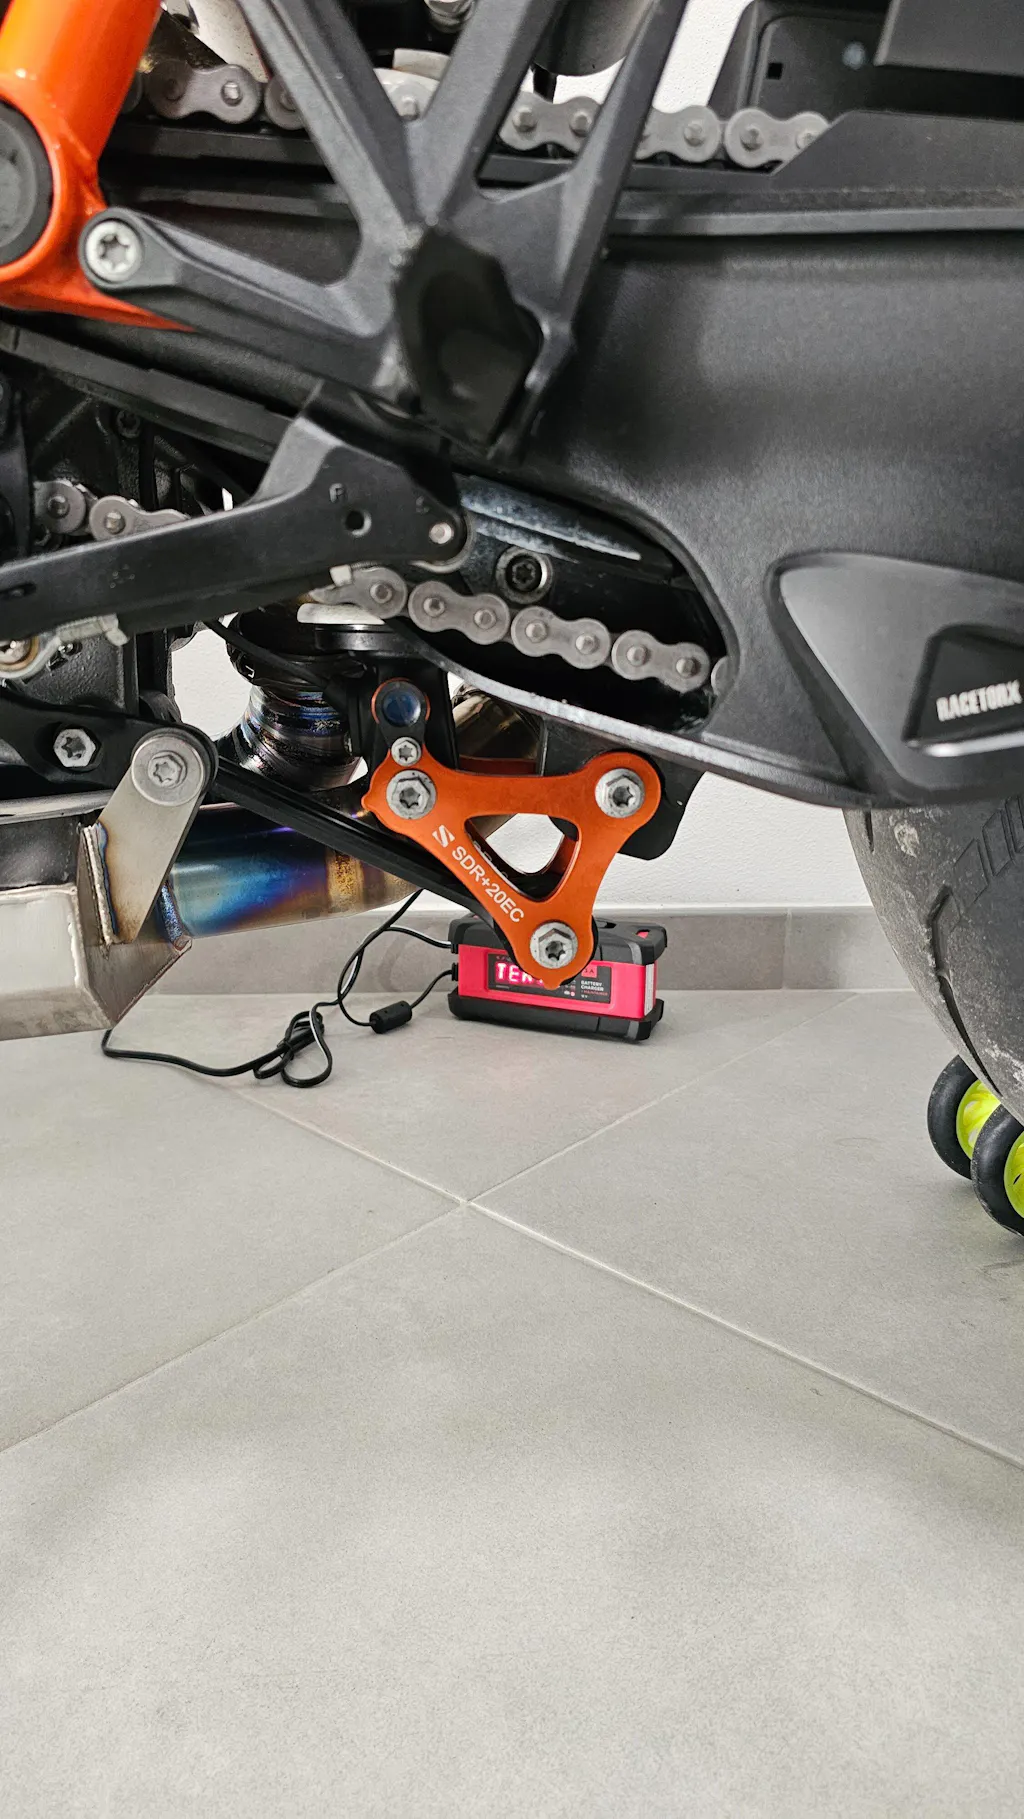
I put the sport link +20 and man, this think changes the bike so much, this is by far the best upgrade i made on the bike. Im cornering fast and with much more trust, i can see that on the tyre treads. Thank you gogo
Hi Go Go ,
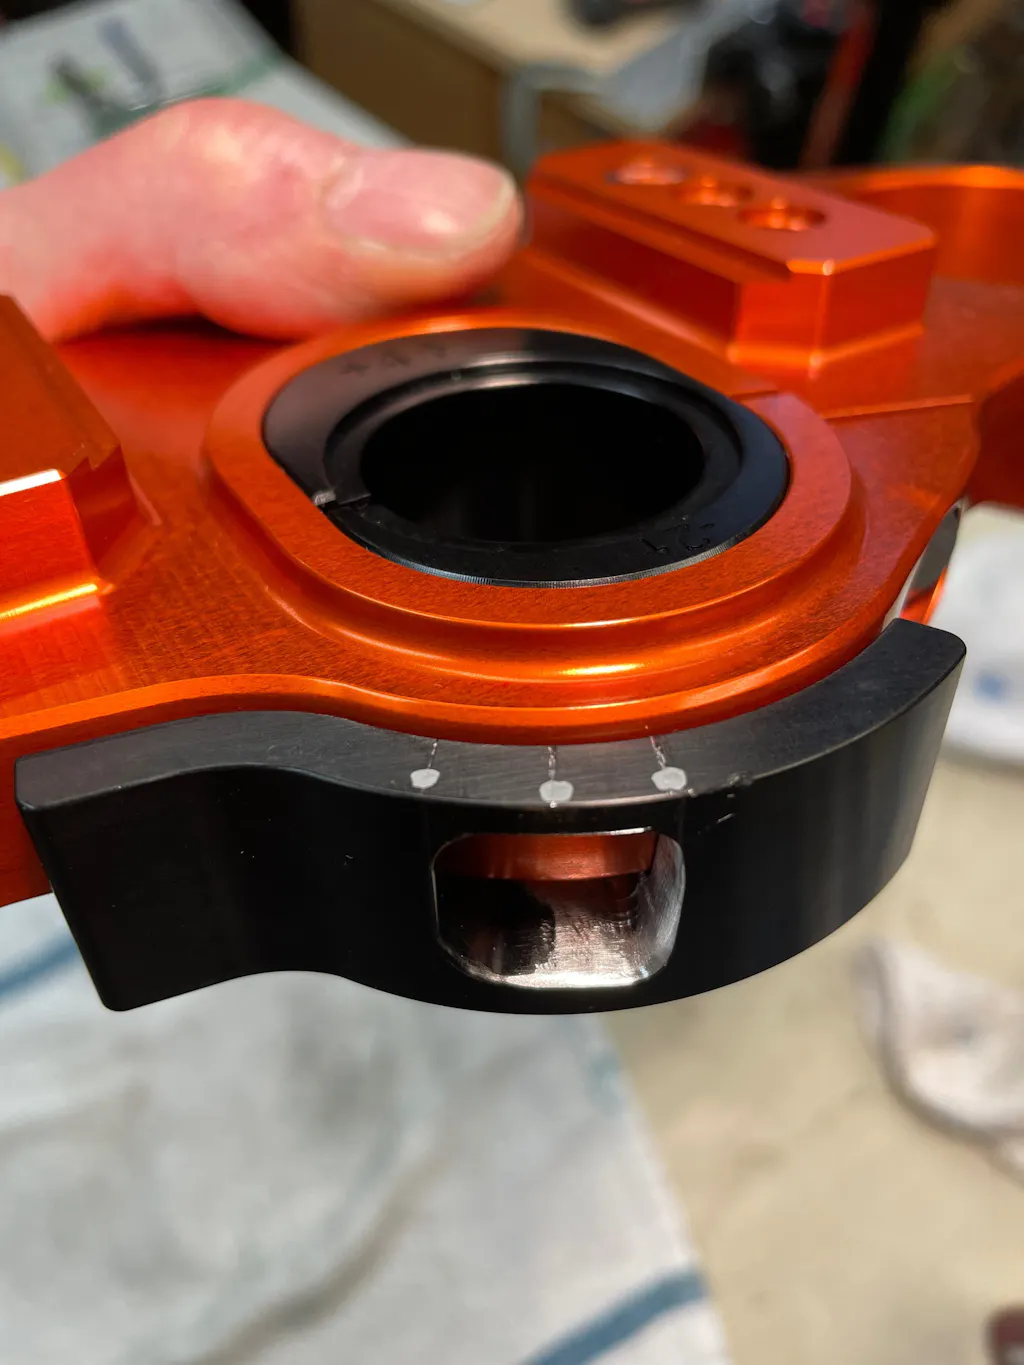
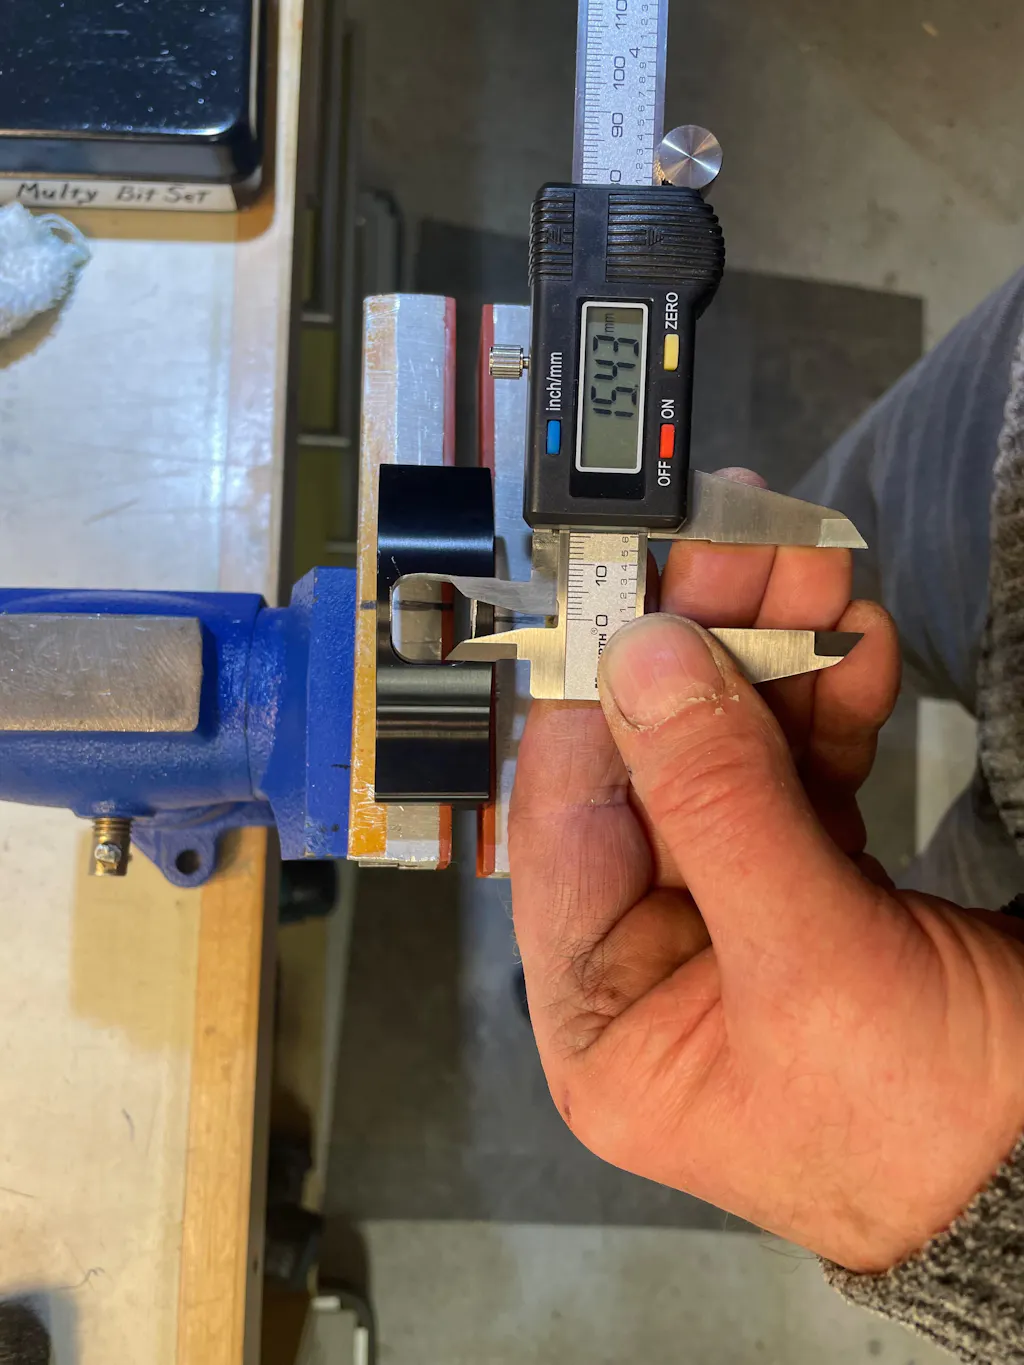
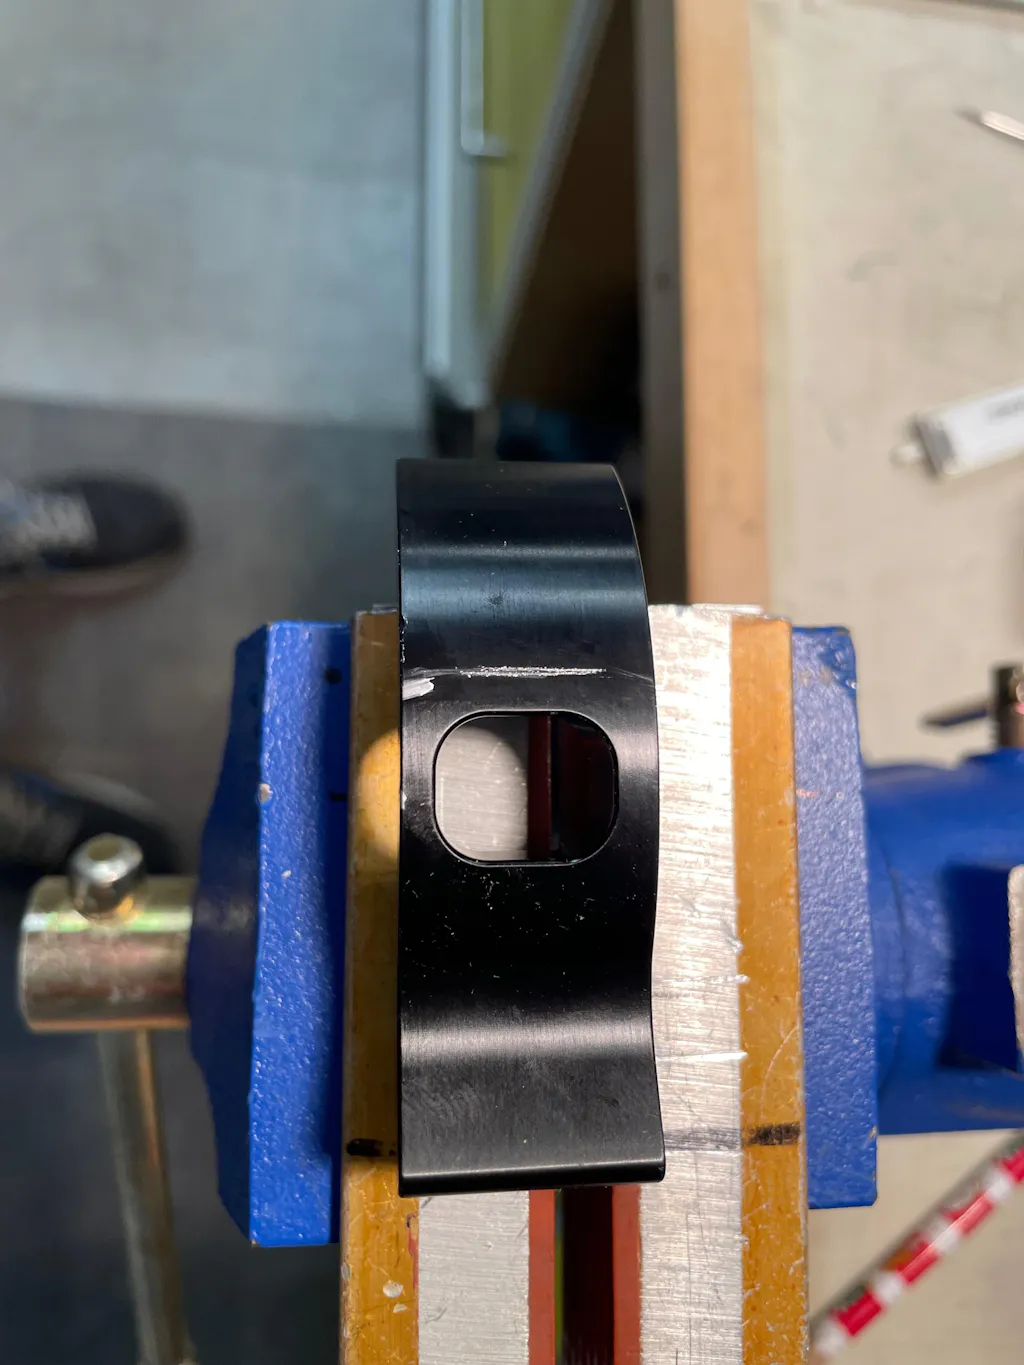
It work out really well mated perfectly with the upper clamp flange. Due to the super stops I had to open up the bat cave about 3mm to get the pin to engage, all good thank you!!
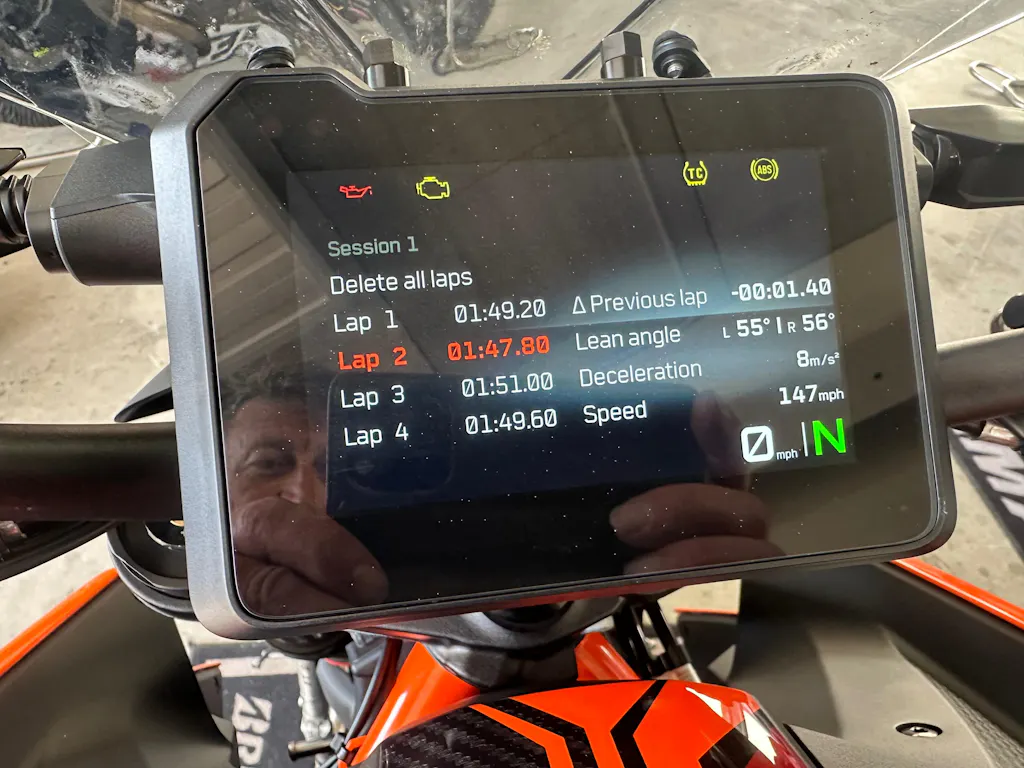
Couldn’t believe the differences between sessions.
My ride height climbed. Ground clearance improved. And most importantly the geometry.
The chassis instantly held lines and I didn’t miss those apexes. 2 second improvement around Parc Motor near Barcelona last week.
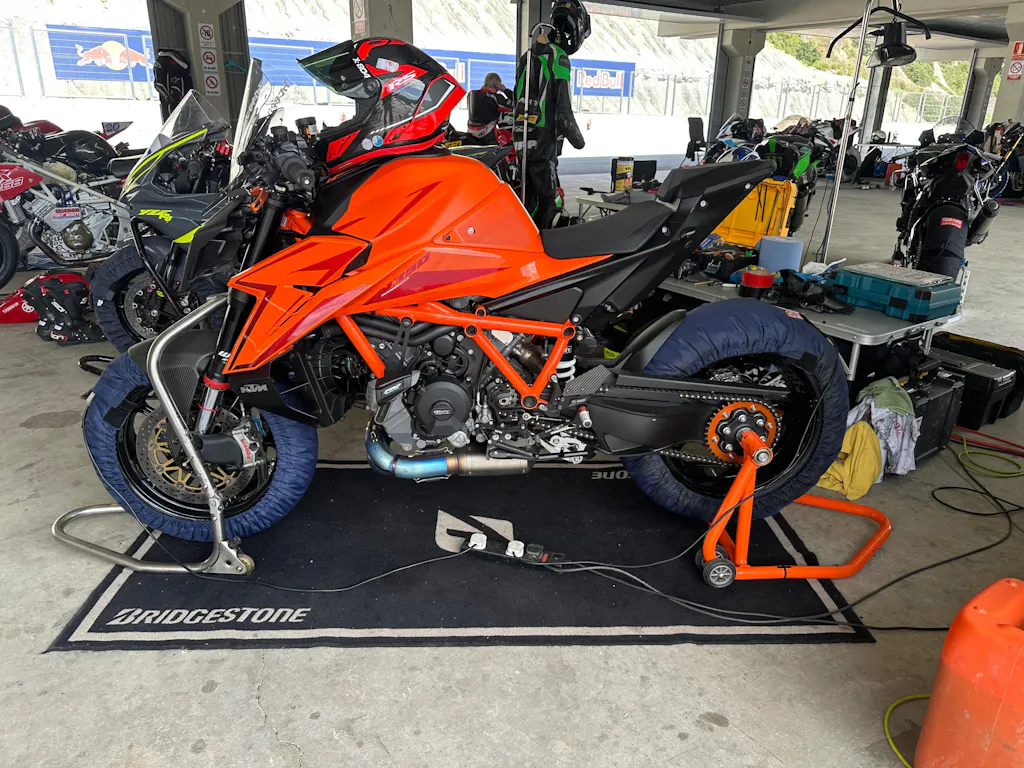
Love it. It’s never coming off. Riding to the TT next month on her (Katy M) and I’m sure she will gain suitors…..! The SuperLink looks and operates stunning.
Cool product, install was easy, looks great and good piece of mind for me and all those around me :)