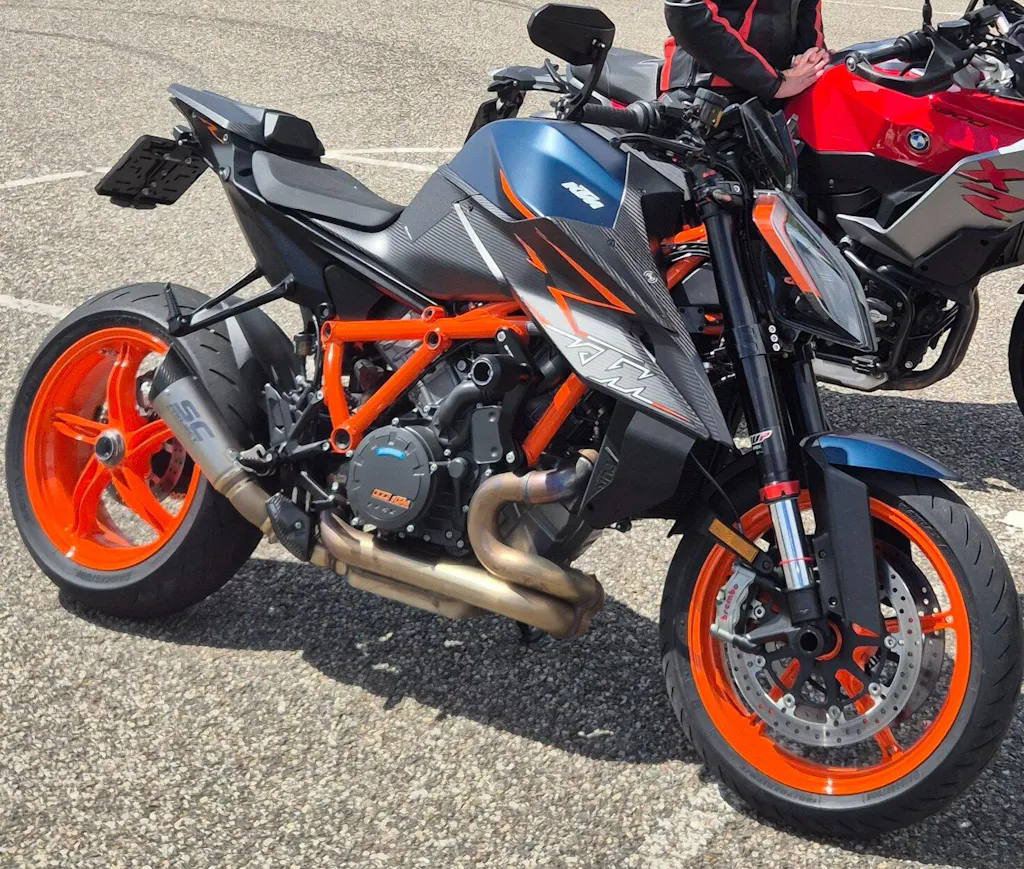
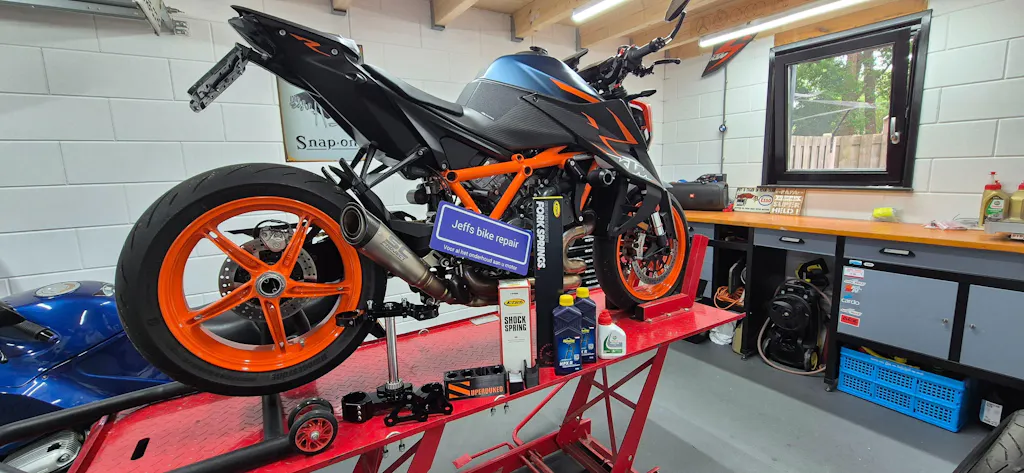
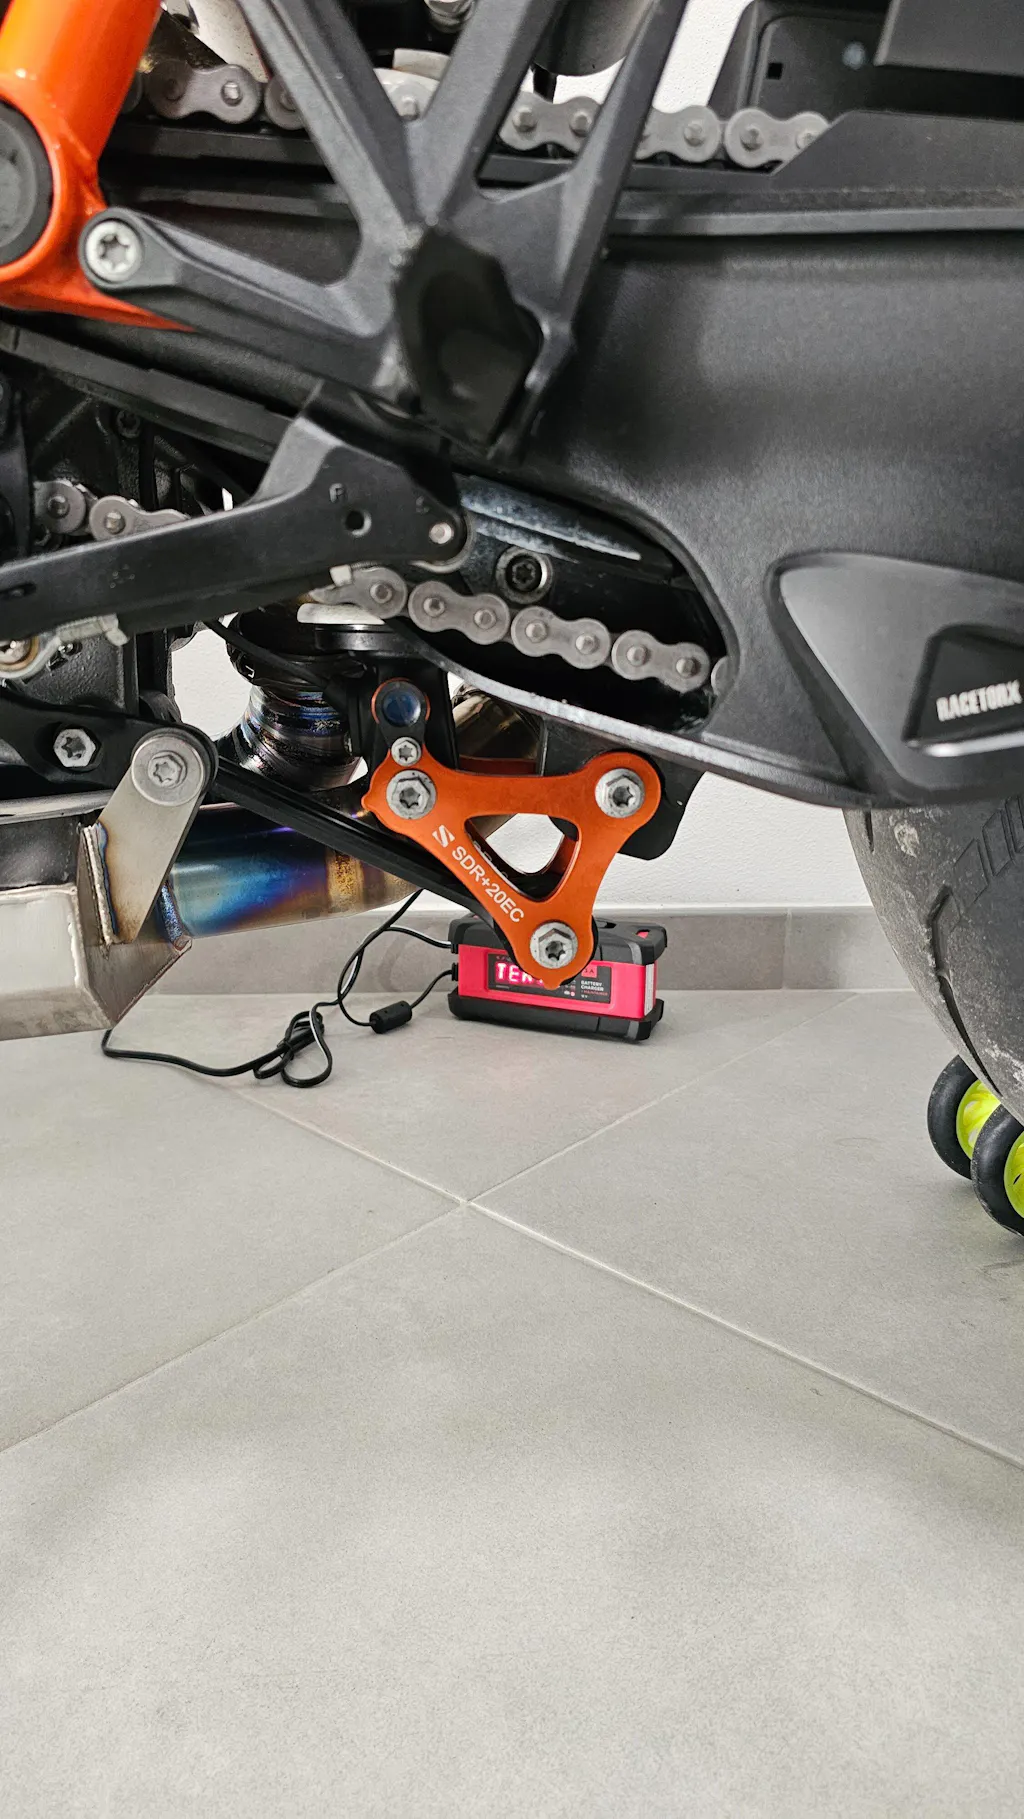
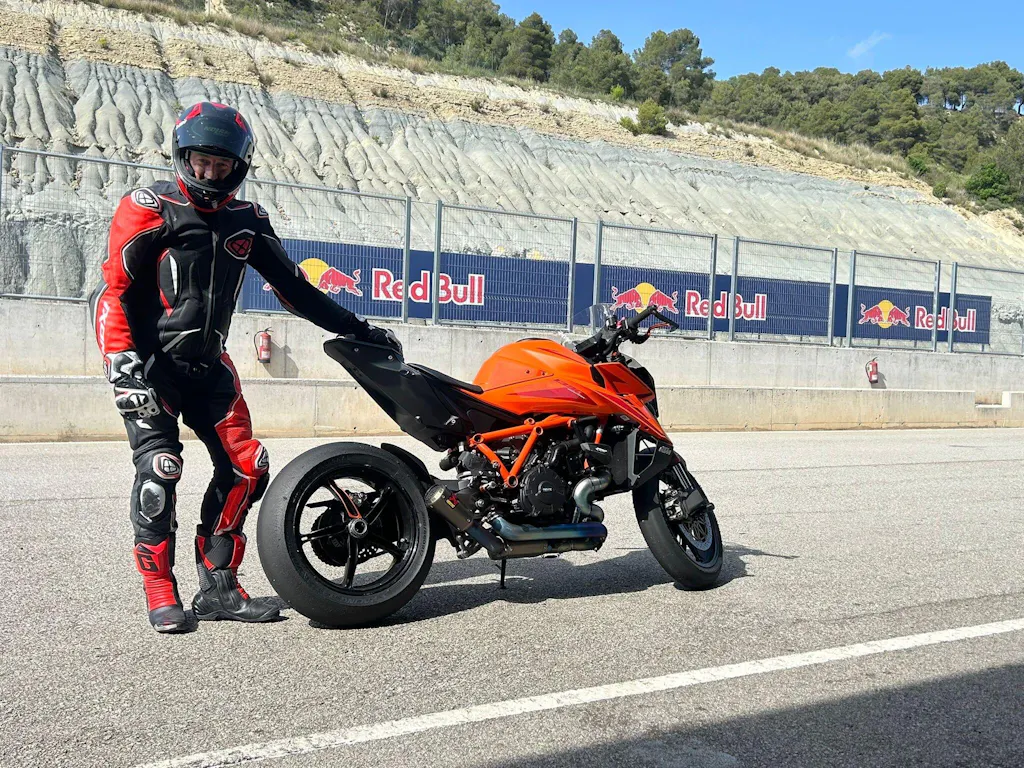
The setup world for 1290 Superdukes is changing radically, right now, and you are a big part of the movement. We no longer need to raise our rear ride height so much to cut down on trail. Because now we can use rear ride height to improve anti-squat alone, and use the Superclamp to improve trail alone. So, what used to be the hot setup – jacking the rear of the SDR up as high as you can manage – is no longer the only, or the best way to improve your overall bike.
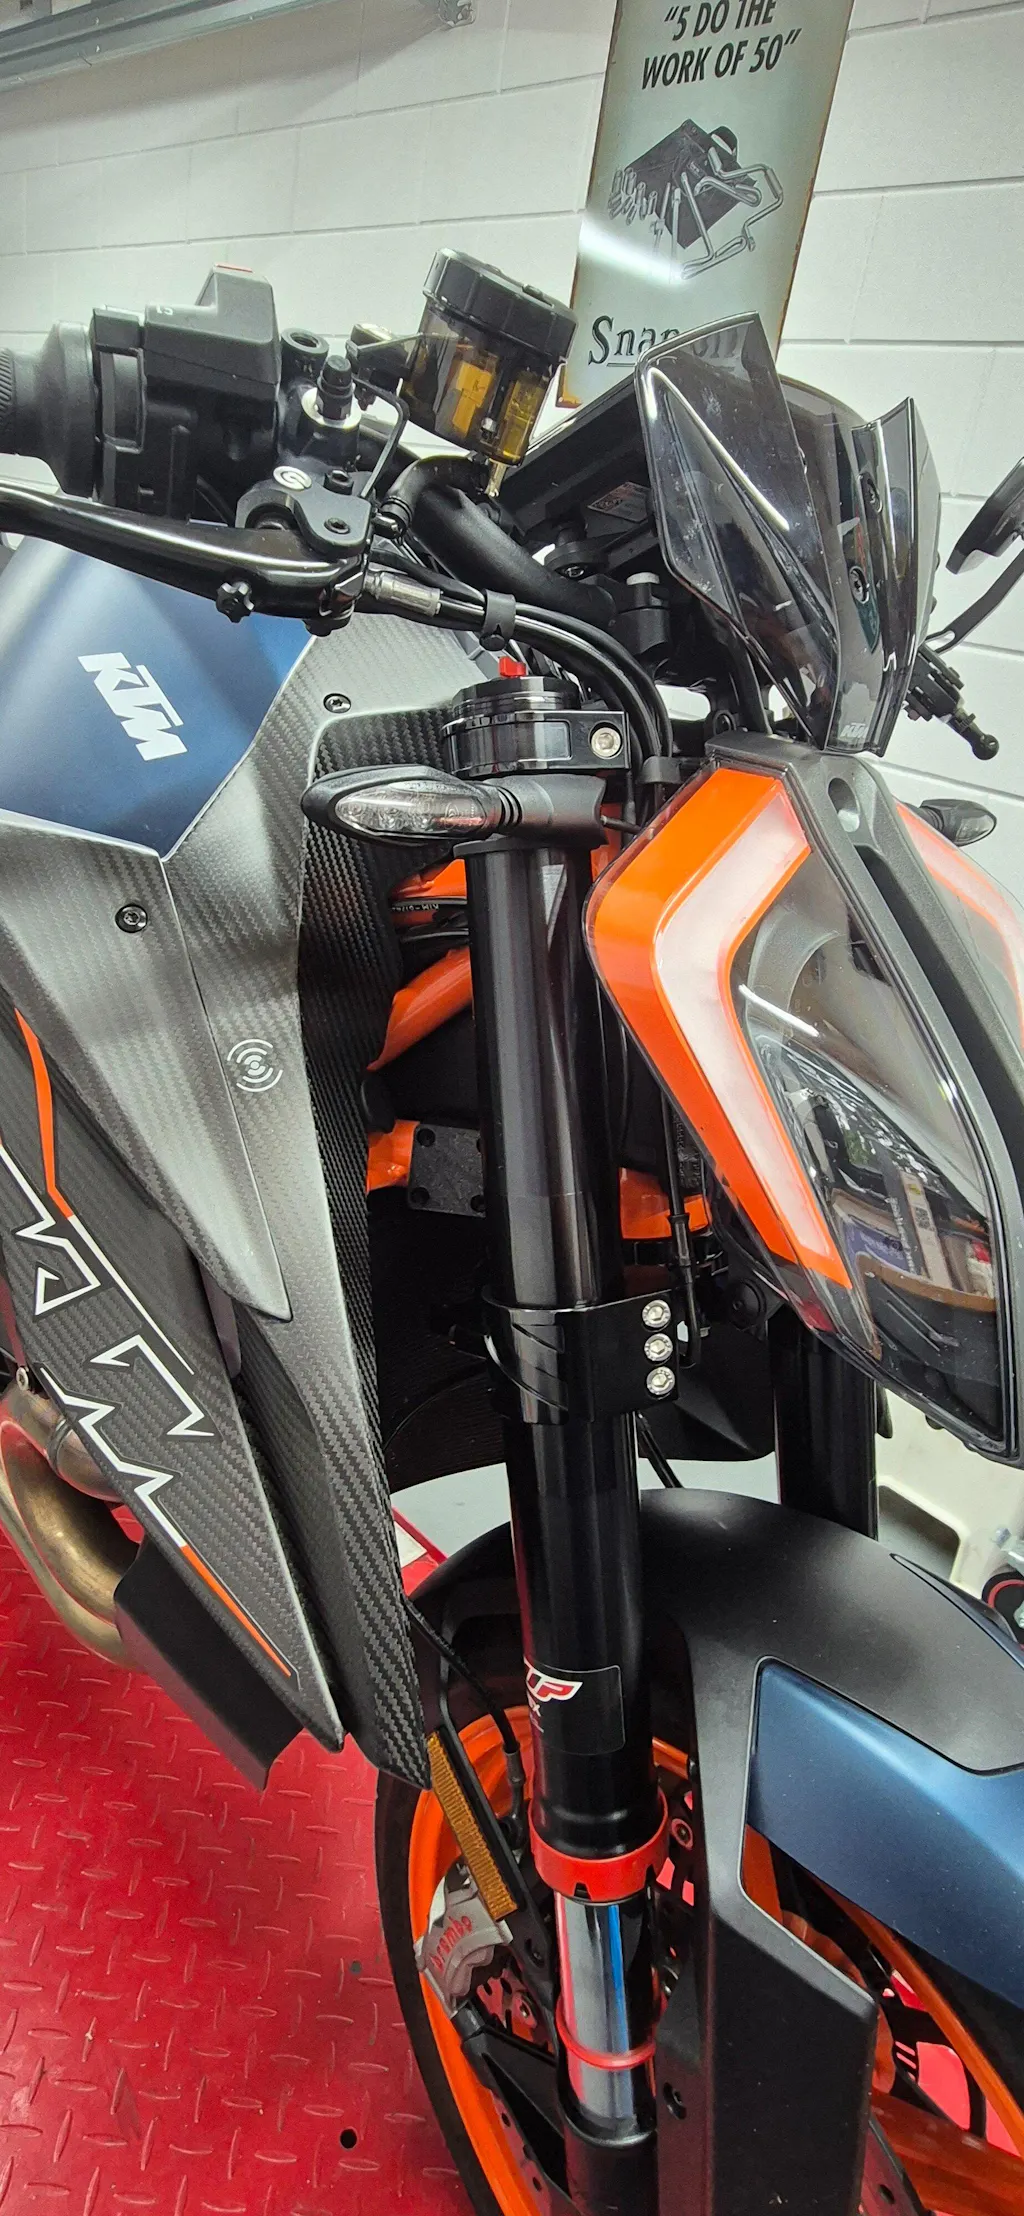
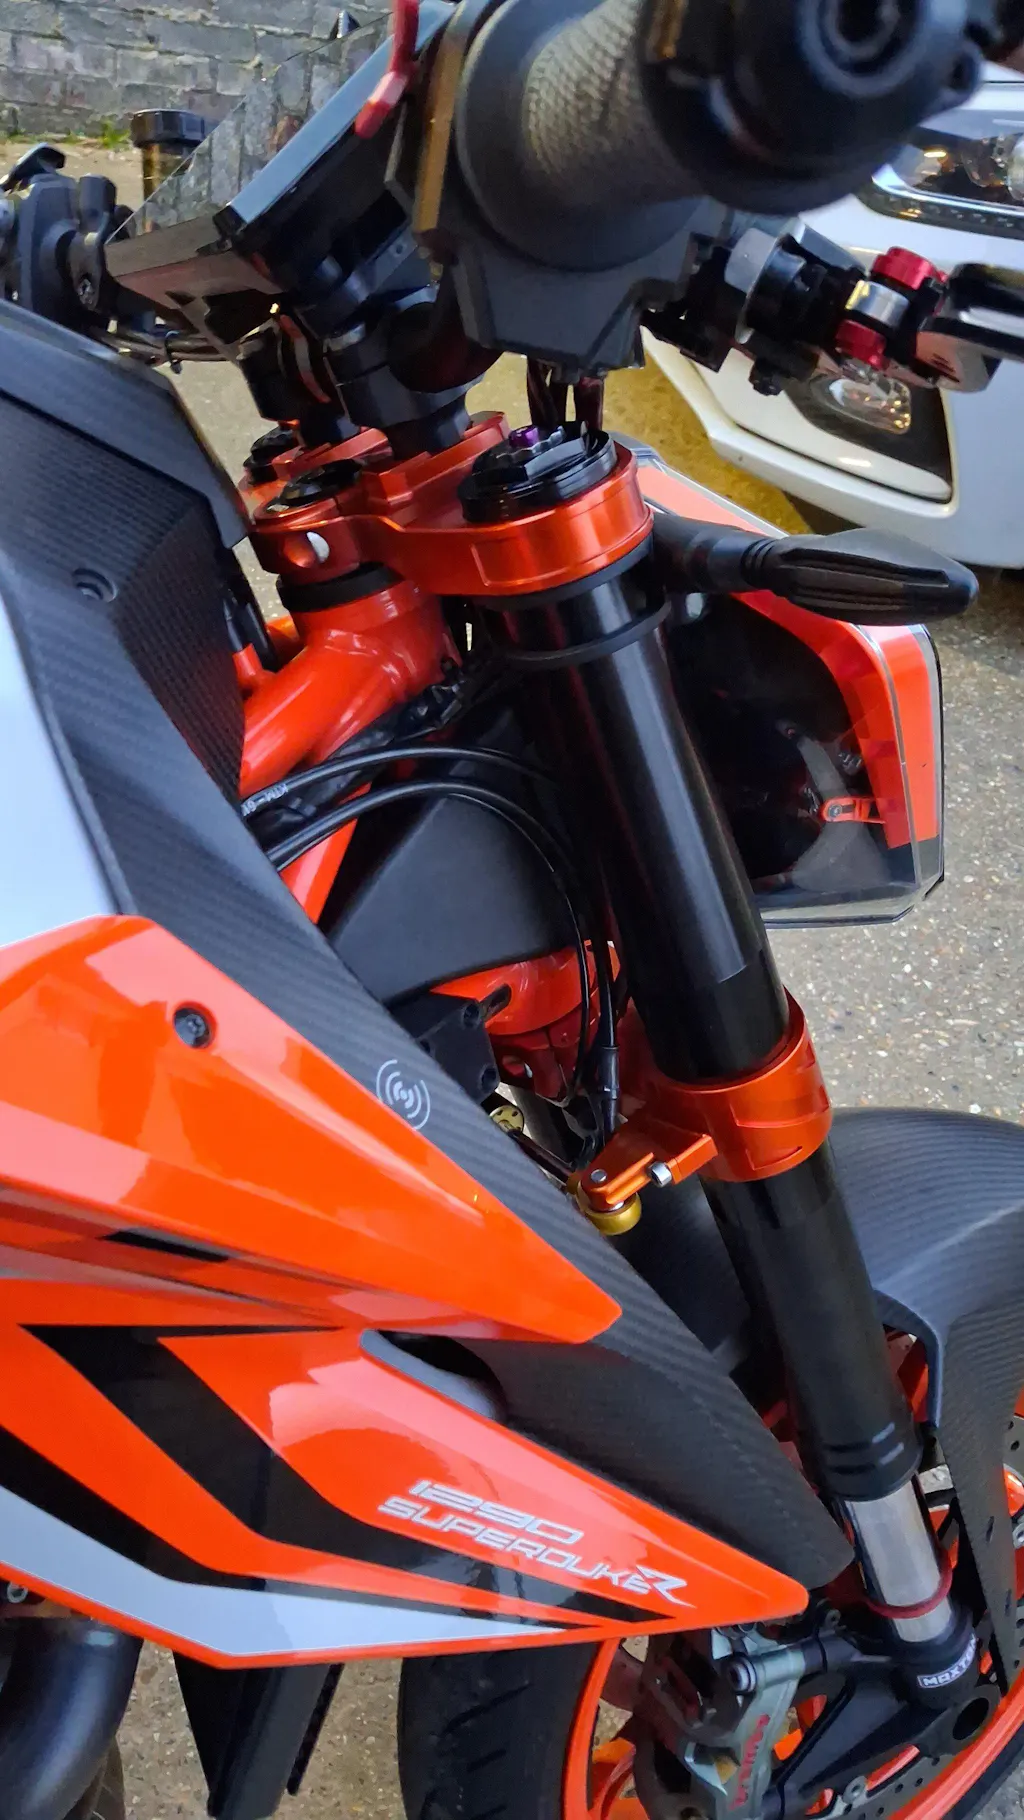
Welcome to the Superclamp my friend. Here are some notes on how to use it:
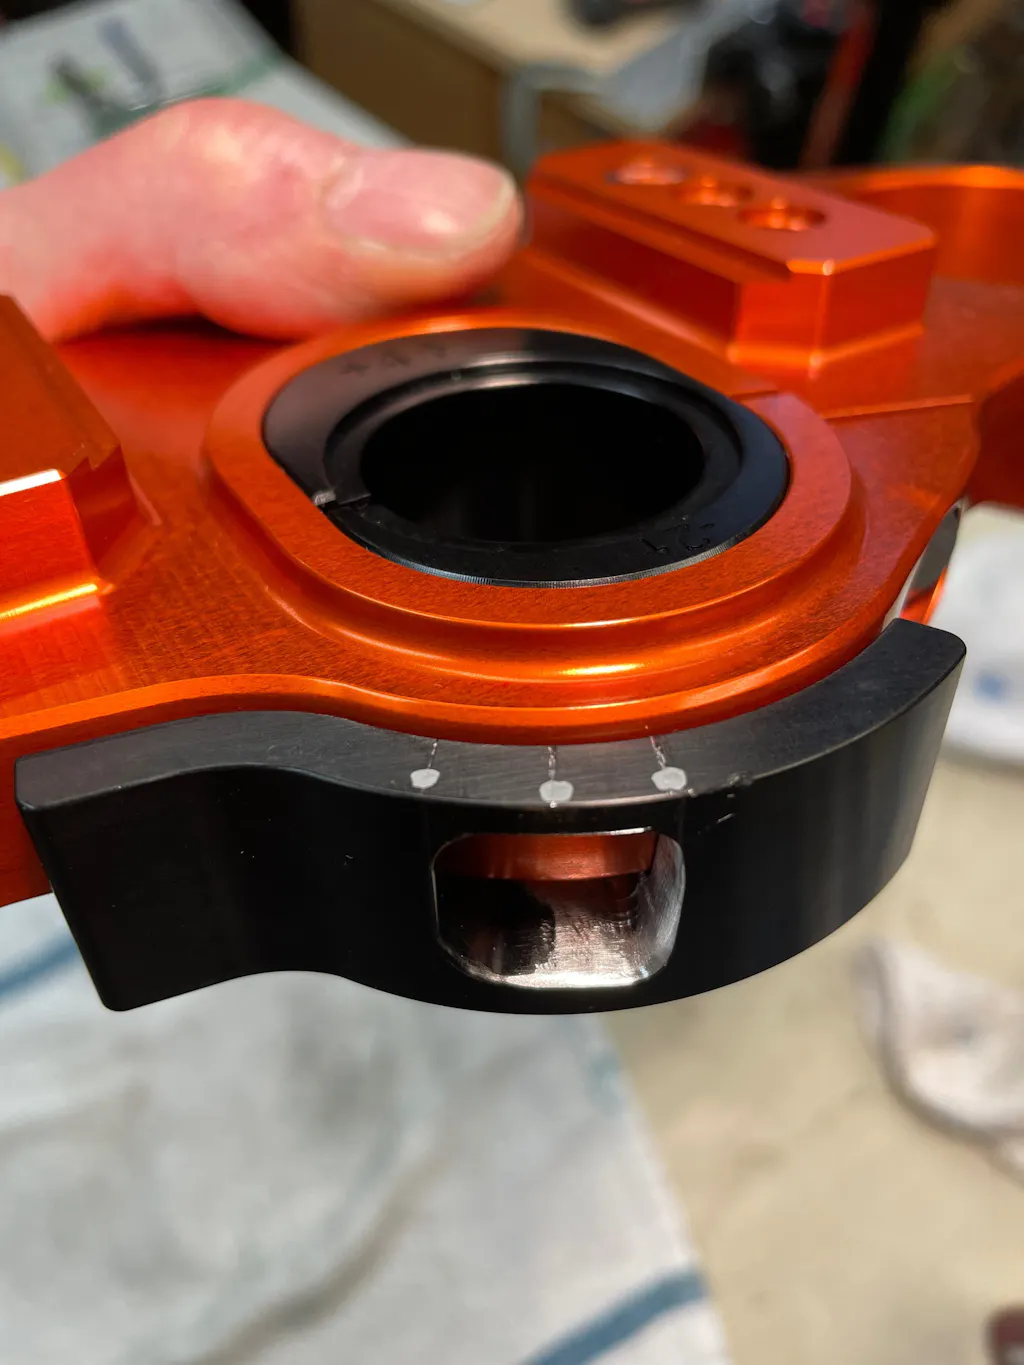
USING INSERTS
Your Superclamp comes with the OEM insert pre-installed. Keep in mind the (+) inserts increase performance, making your bike turn easier, quicker, and with less resistance. The (-) inserts make the bike steer slower, resisting turns.
Positive offset insert = Trail DECREASE = faster turning
Negative offset insert = Trail INCREASE = more stability
The bigger the number, the bigger the change.
Many of the Superclamp inserts have dual uses. For instance, the +2/OEM can either replicate your OEM triple clamp feel, or it can add 2mm of offset – depending on its rotation inside the upper and lower triple clamps. Each insert is engraved with its respective setting. When viewed from the standard riding position, the engraving that reads in the forward position – with the arrow aiming forward, is the setting being used.
In the example above, your SDR would have the same offset as the bike came with stock off the showroom floor. However, if you turn the OEM/+2 around, so the +2 and arrow are facing forward instead, your trail will decrease from 107.7mm (stock) to 105.3mm.
NOTE: Always use Superclamp inserts as matching pairs, and always face them in the same position – with both engraved names and their respective arrows facing forward.
EXPERIMENT INCREMENTALLY
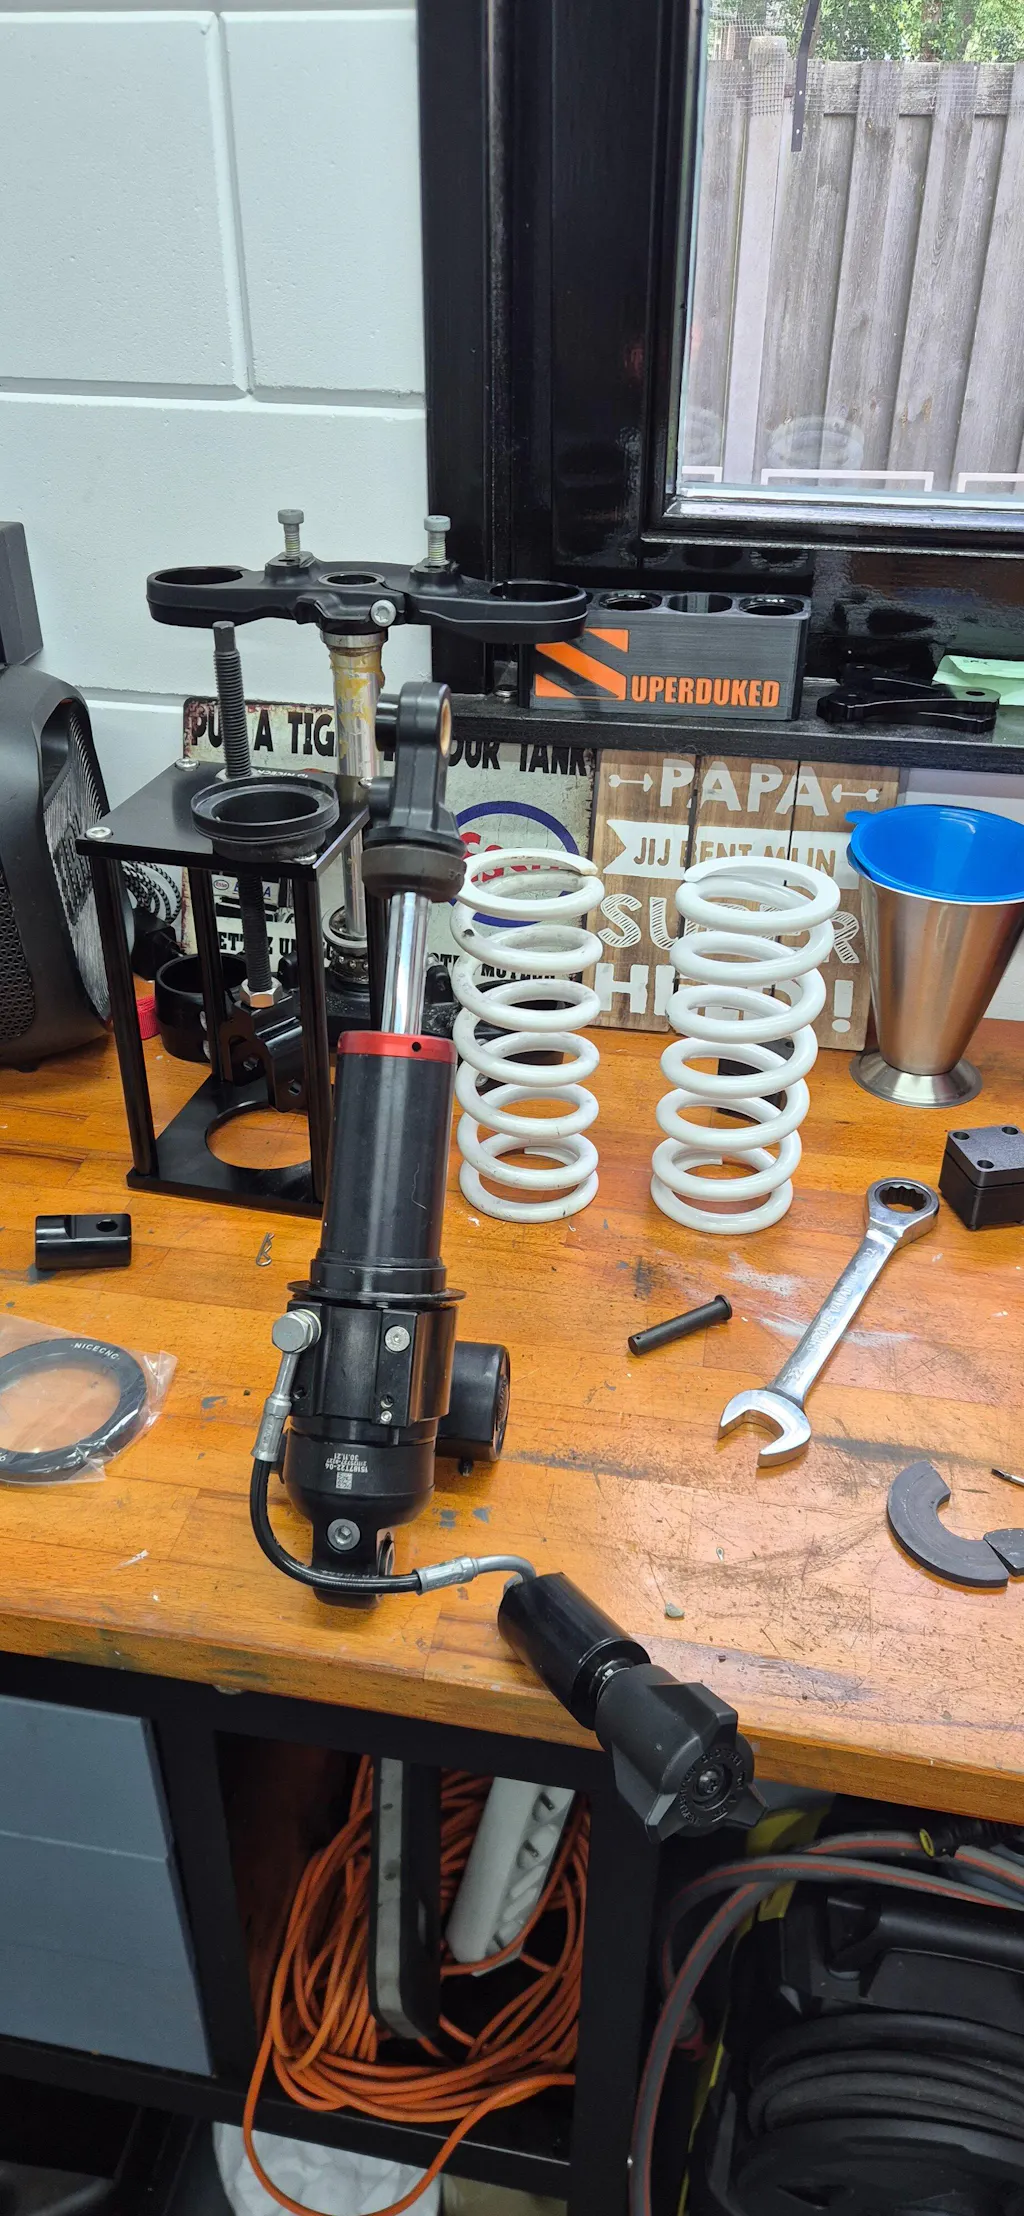
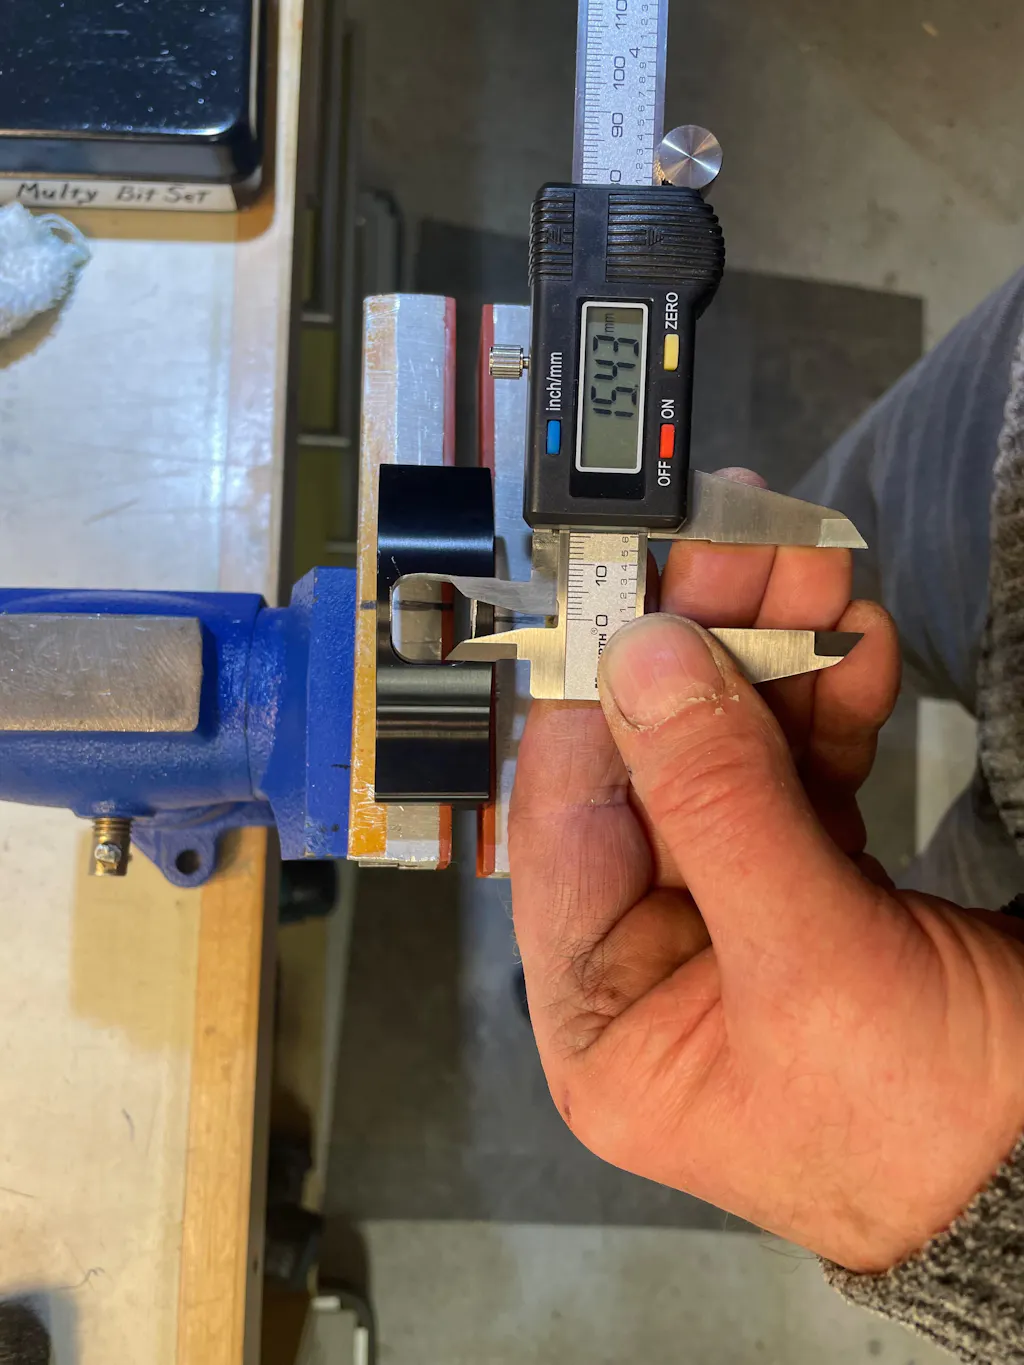
You will feel differences in trail, even as little as 1mm, so please experiment incrementally. Remember I designed the Superclamp to make changing inserts a very reasonable task. You don’t have to remove the forks, the wheel, or even the Superclamp itself to change inserts. My take on adjustable offset triple clamps has always been, “What good are they if changing inserts is so difficult that nobody wants to do it?” So don’t sell yourself short – make incremental changes 1 or 2mm at a time, rather than making one huge change all at once.
Data and charts can be confusing, so let’s think about the two ways we can approach insert selection.
If you don’t know your trail measurement…
First the wide-angle way; If you don’t know what trail measurement you have, or what trail measurement you want, think about what kind of change you’re looking for. Installing the Superclamp with the OEM inserts means your trail won’t change at all. If you’re looking for easier turning, you want a shorter trail, so use an insert that changes your trail in the negative direction. For the smallest change, use the +1 offset insert, which decreases trail by 1.2mm. For a bigger change, try the +2 insert, and so on. For more stability, follow the same process in the other direction - (negative offset inserts increase trail).
If you know your trail measurement…
If you know your trail measurement, and you have a specific measurement you want to achieve, use the table below to look up specific settings. (This table assumes a stock setup, with the exception of the Superclamp and listed custom links; your setup may vary.) If you reference the OEM row in the insert column, for instance, and follow it across to the +15 Sport Link column, you can see that the +15 Sport Link reduces your trail to 104.2mm. So in this case, if you currently use a +15 Sport Link and you want to reduce your trail to 101mm, you can simply move down two rows to the +2 and get 101.8mm of trail, or go to the +3 and get 100.6mm of trail.
If you use a +10 Sport Link and you want 101mm of trail, simply move down the +10 column to the +4, which gives you 100.6mm of trail. Close enough. However, with the Superlink, and with a height adjustable shock, you can see how differently those combinations can and will affect trail in addition to just the Superlink – by changing rear ride height even farther with shock length.
As you can see in the chart below, every link and shock length creates a difference in your trail. So, take care to note what your current setup is before you choose your new offset insert.
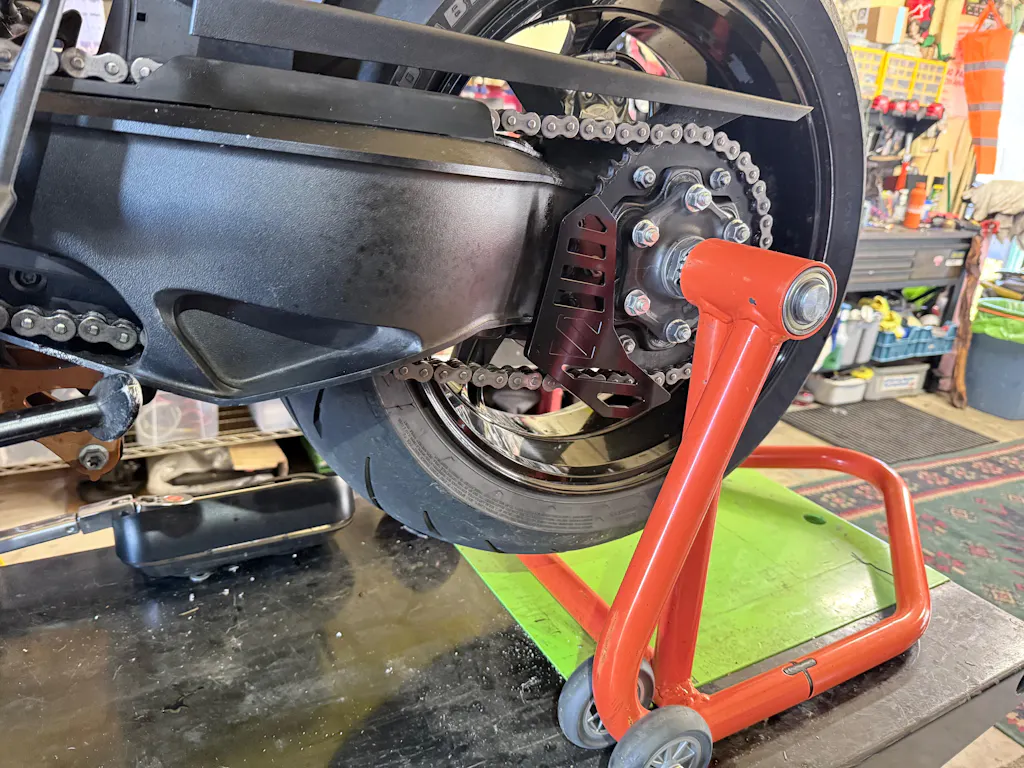
Remember that sprocket sizes, chain lengths, links and shock lengths also effect rear ride height – and rear ride height also effects trail. On a completely stock 1290 Superduke, using a +6 insert might feel brilliant to you. But on a bike with a height adjustable shock, extended as far as it goes, that same +6 might be too aggressive. There are so many different configurations that you might have your bike setup with, it’s impossible to cover them all in one chart. So it is vital to consider what else you have done with your bike (front sprocket, rear sprocket, chain length, Sportlinks, Superlinks, Apex Pro shock, Maxton shock, MUPO, or Ohlins – and what length you might have either of those shocks extended to), in order to make an appropriate insert choice.
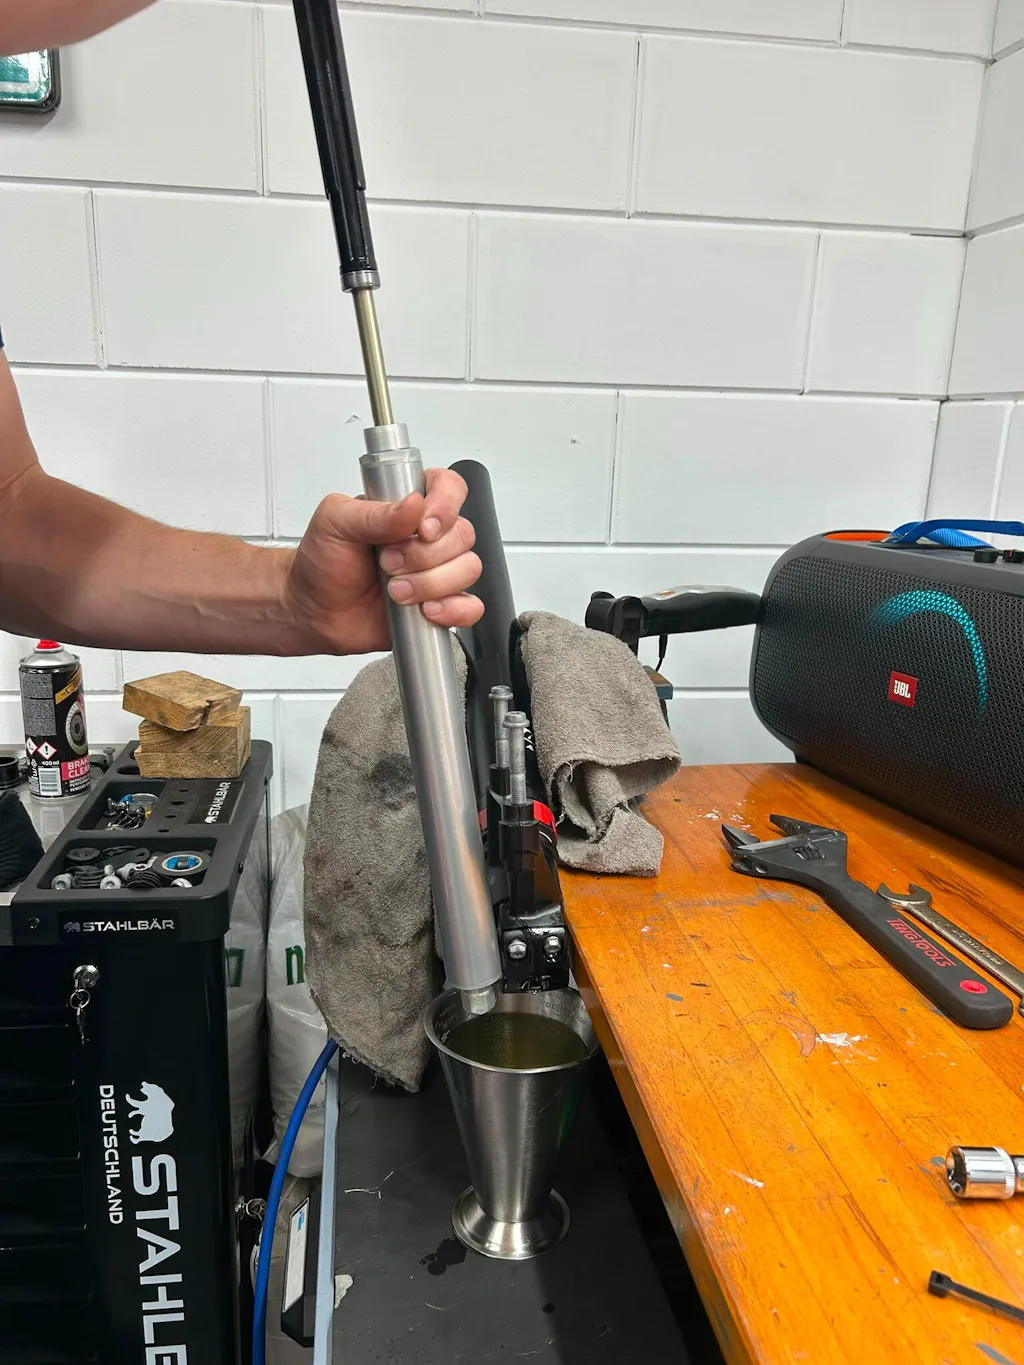
INSTALLATION INSTRUCTIONS
Click here for detailed installation instructions.
Stay in touch
I understand that this can get confusing so If you have any questions, please feel free to email me - eric@superduked.com
I am ready and willing to help you get the most out of not only your Superduke, but out of motorcycling in general. So please don’t hesitate to reach out.