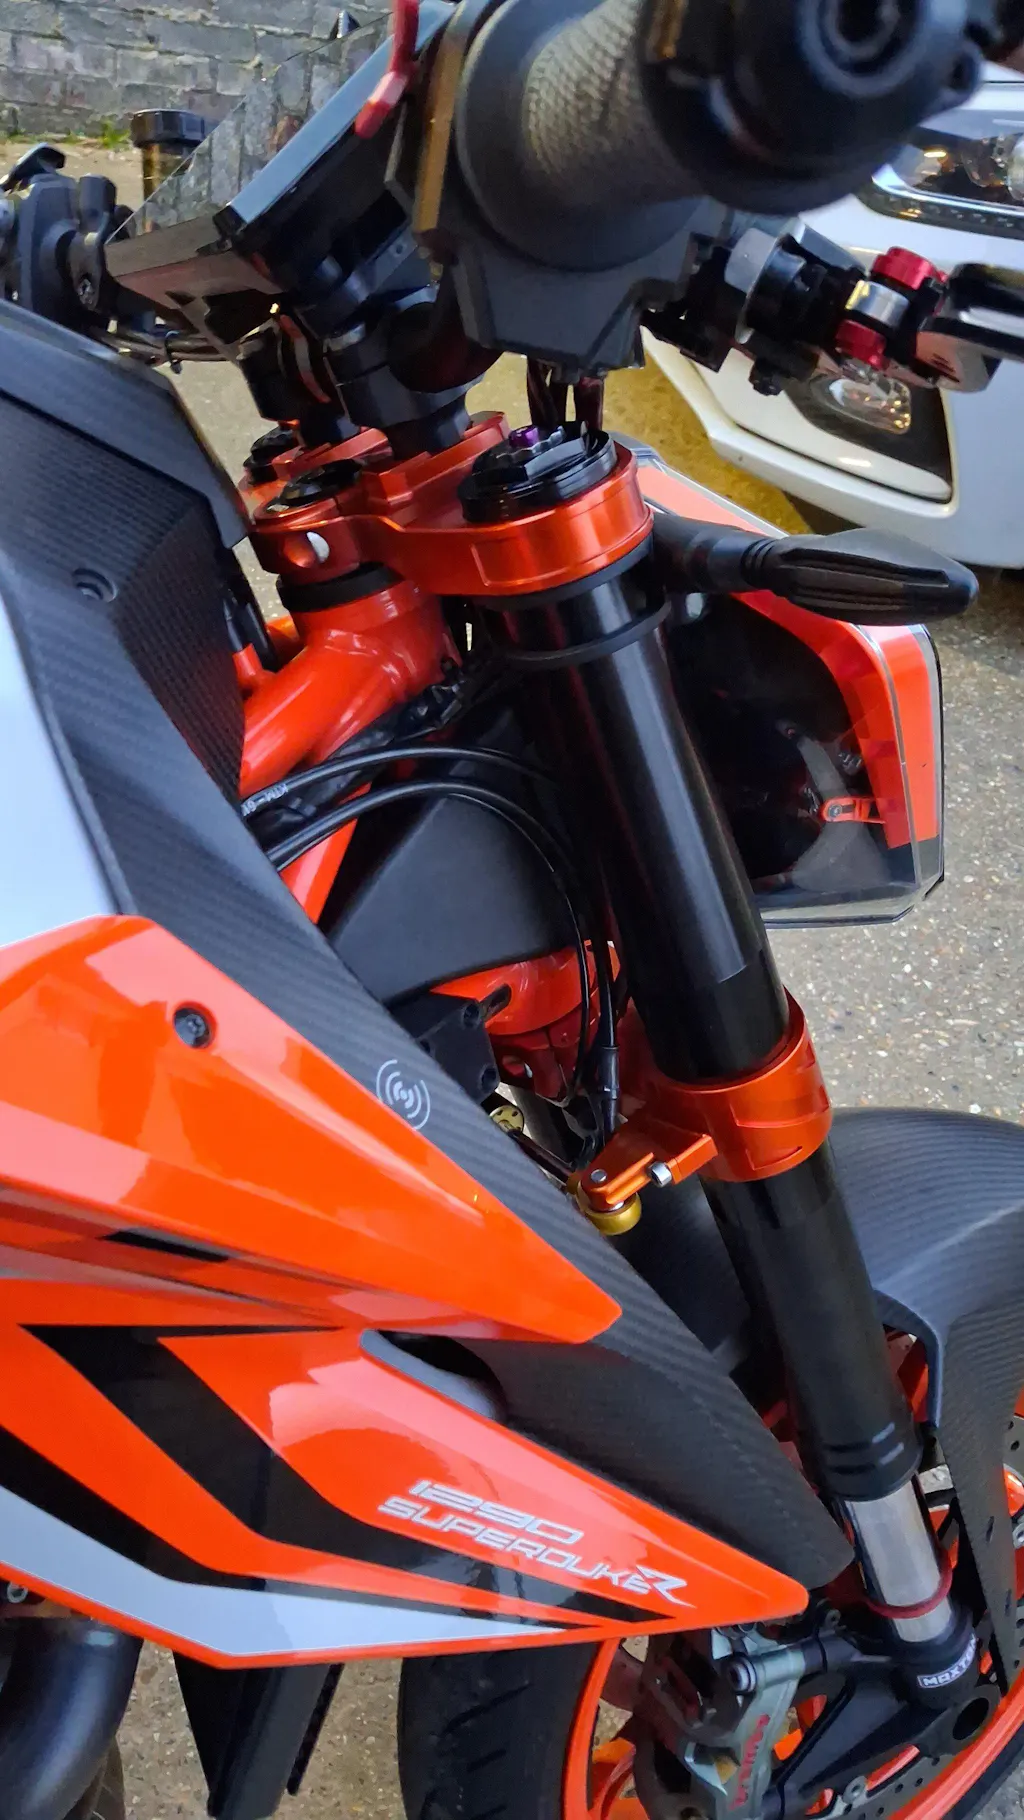
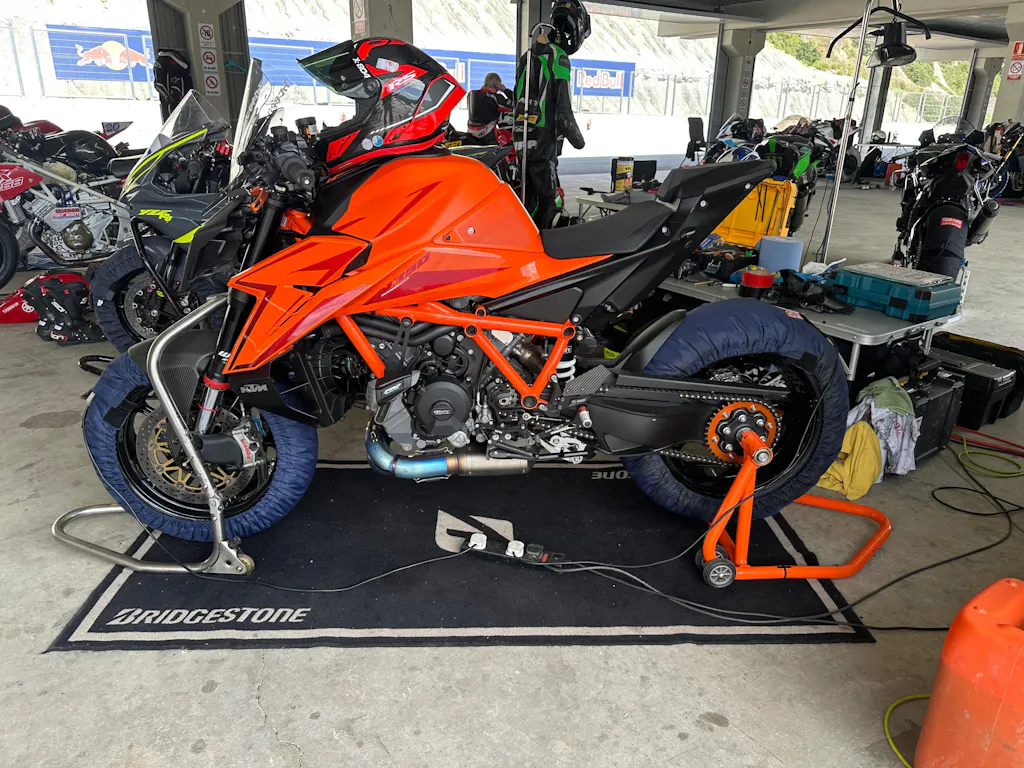
It doesn't matter how much you love your bike; it can be better. If you are riding a KTM Super Duke 1290 or 1390, you are likely wrestling with a machine that feels a bit "lazy" when you tip it in, or one that takes the wide way around turns when you try to get on the gas. That headache—the bike squatting, the front end getting light, and the radius opening up—is a geometry problem.
After 30 years of racing, including being the first to campaign the 990 Super Duke in AMA Pro, I’ve learned that the science of setup is what separates a bike that’s a struggle from a bike that’s a joy. Let’s dive into the "New World" of Super Duke setup, specifically focusing on swingarm angle, trail, and the often-misunderstood force called anti-squat.
The Enemy: Why Your Super Duke Squats
When you twist the throttle, the rear of the bike wants to do one of two things: it either squats down (compressing the shock) or it uses "anti-squat" forces to push the tire into the ground, keeping the chassis stable.
Most bikes with a single-sided swingarm suffer from a lack of anti-squat. The 1290 and 1390 come from the factory with an anti-squat value of about 107%. In the world of performance setup, that isn't nearly enough. When you have low anti-squat numbers, the bike's weight transfers back, the rear sits down, and you lose that "drive" that shoots you out of a corner. Even worse, as the rear squats, the front geometry changes, making the bike want to run wide.
Three Ways to Fix the Angle
To get more anti-squat, we generally need more swingarm angle. There are three primary ways to achieve this on a Super Duke:
- Axle Position: You can rotate the eccentric hub. However, this is the most inconsistent method. My data shows that moving the axle through its rotation provides wildly different results in height versus length. For example, moving from the "11:30" position to "12:30" on the clock face changes swingarm length by 10mm but only changes height by 1mm. It’s the least impactful tool in your kit.
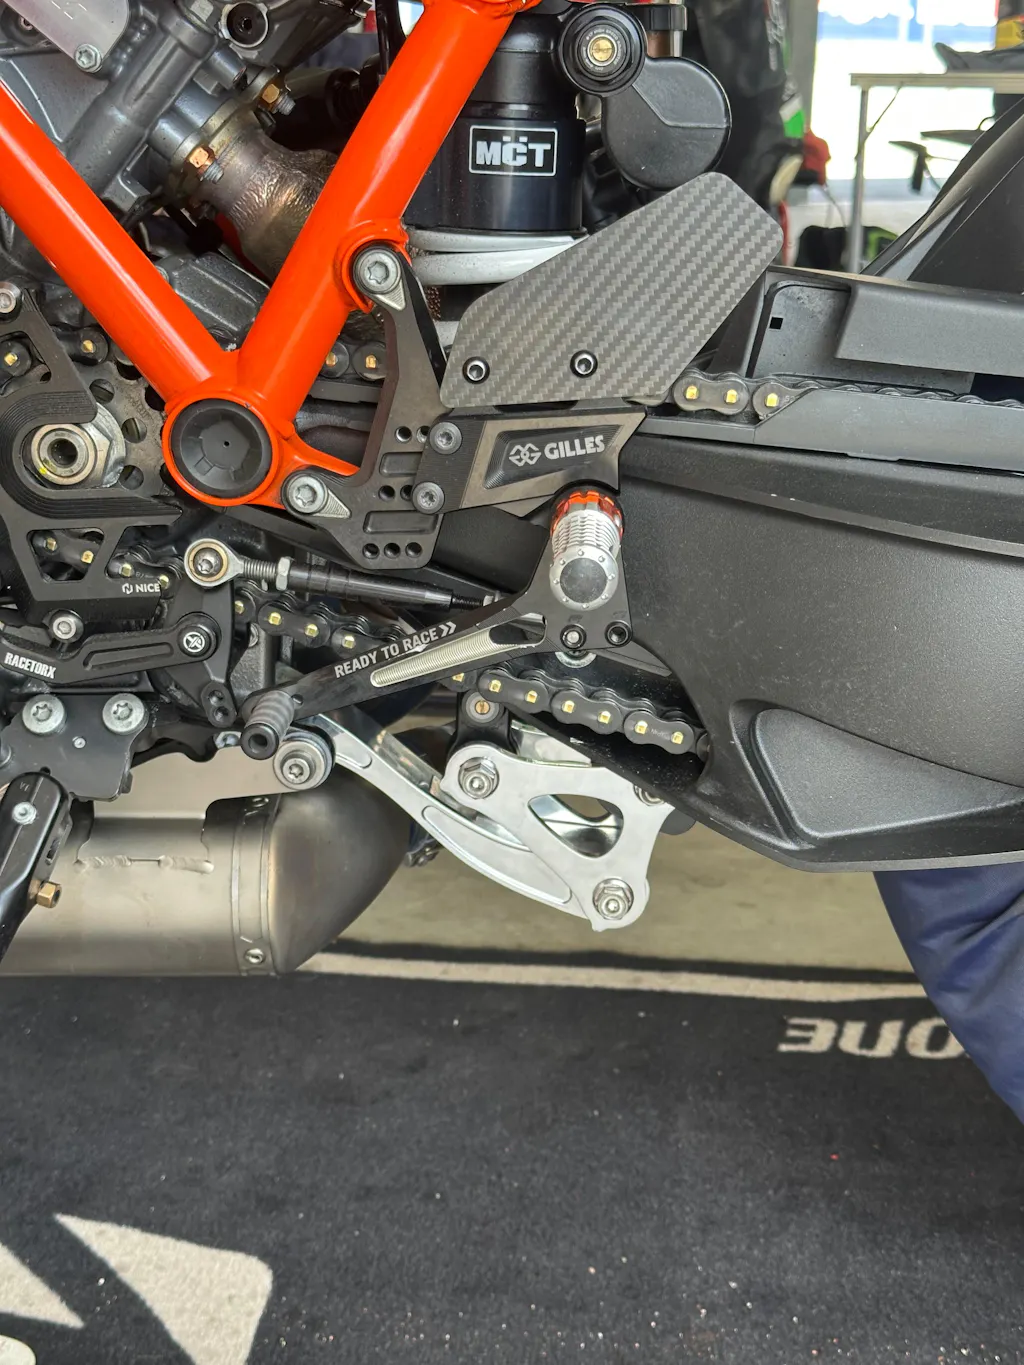
- Shock Length: If you have an RR model or an aftermarket shock like the WP Apex Pro, Ohlins TTX, or Maxton, you can physically lengthen the shock. But there’s a catch: the OEM control arm cannot clear a shock longer than 365mm. This is exactly why I designed the Superlink. Its unique "S" shape allows you to extend those high-end shocks to 370mm without hitting the frame, giving you the aggressive geometry needed for real performance.
- Suspension Linkage: For those running the OEM shock that isn't height-adjustable, the Sport Link is the most cost-effective upgrade you can make. Available in +10, +15, and +20mm versions, these links mimic the effects of a longer shock, raising the rear and steepening the swingarm angle to give you that much-needed anti-squat.
The "Sprocket Secret": Anti-Squat Without the Height
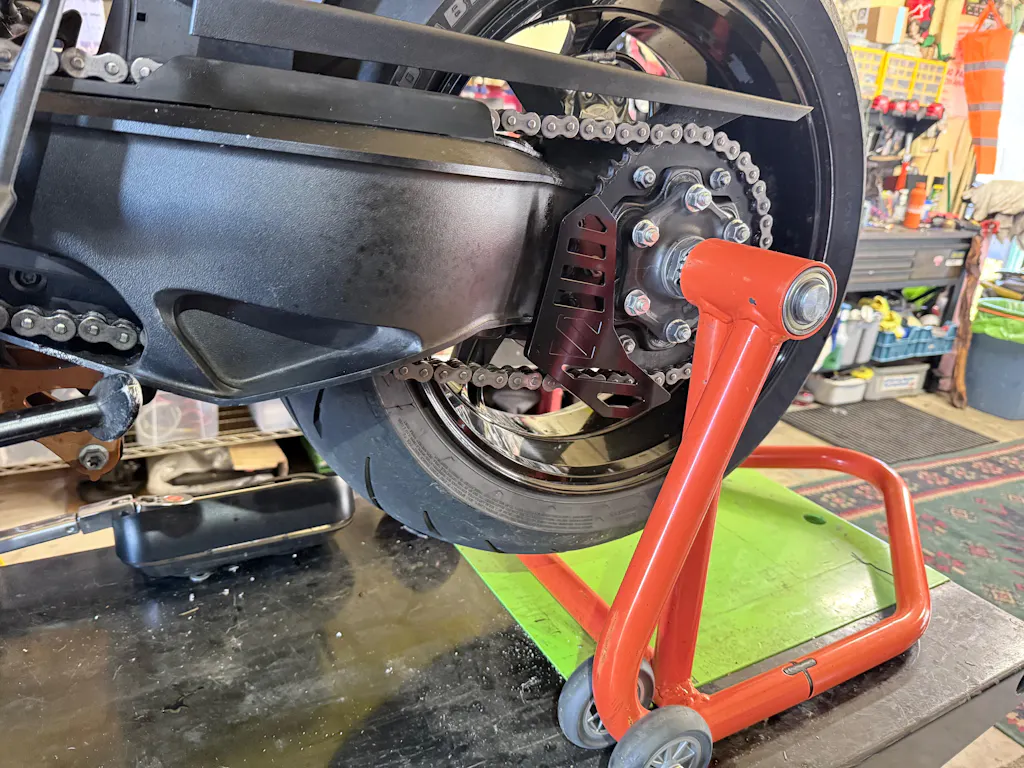
One of the most exciting things we’ve discovered through data mapping is that swingarm angle isn't the only way to get anti-squat. You can actually manipulate the "chain pull" by changing your sprocket sizes.
Think about this: A 17-tooth front and 40-tooth rear combination (with a 112-link chain) results in roughly 11% anti-squat. However, if you switch to a 16-tooth front and a 44-tooth rear (with a 114-link chain), the axle stays in almost the exact same spot, but your anti-squat jumps to 14.7%.
That’s a 4% increase in anti-squat just by changing sprockets—roughly the same benefit as installing a +20mm Sport Link, but without raising the seat height at all. If you’re a rider who doesn’t want the bike to feel "tall" or top-heavy, using sprocket selection to fix your geometry is a total game-changer.
Chasing the 99mm Trail
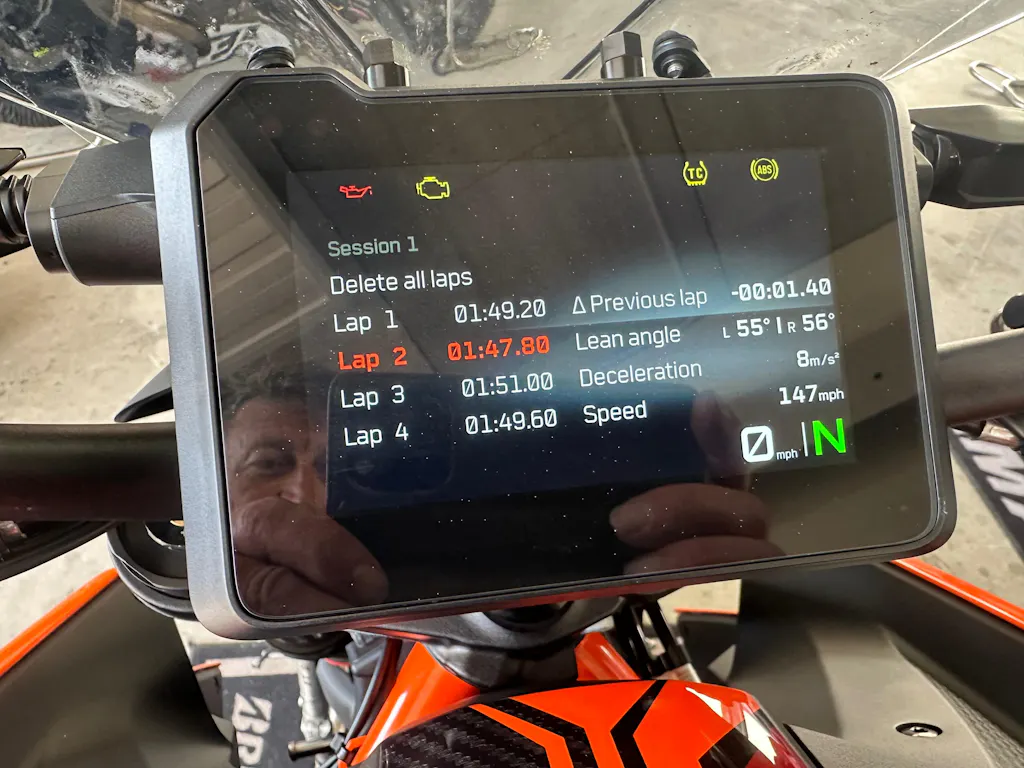
Why do we do all of this? It’s about the front end. A stock Super Duke has about 107.7mm of trail, which is why it feels a bit slow. I recently rode a Kramer RCC (the purpose-built KTM track bike) and was stunned at how similar the front-end feel was to my personal race bike.
When we ran the numbers, the Kramer has 99mm of trail. By using the Superclamp to adjust offset and raising the rear with a Superlink, we can bring the Super Duke down to that same 99mm mark. It transforms the bike into a "knife-edge" instrument that tips in effortlessly and holds its line like a laser.
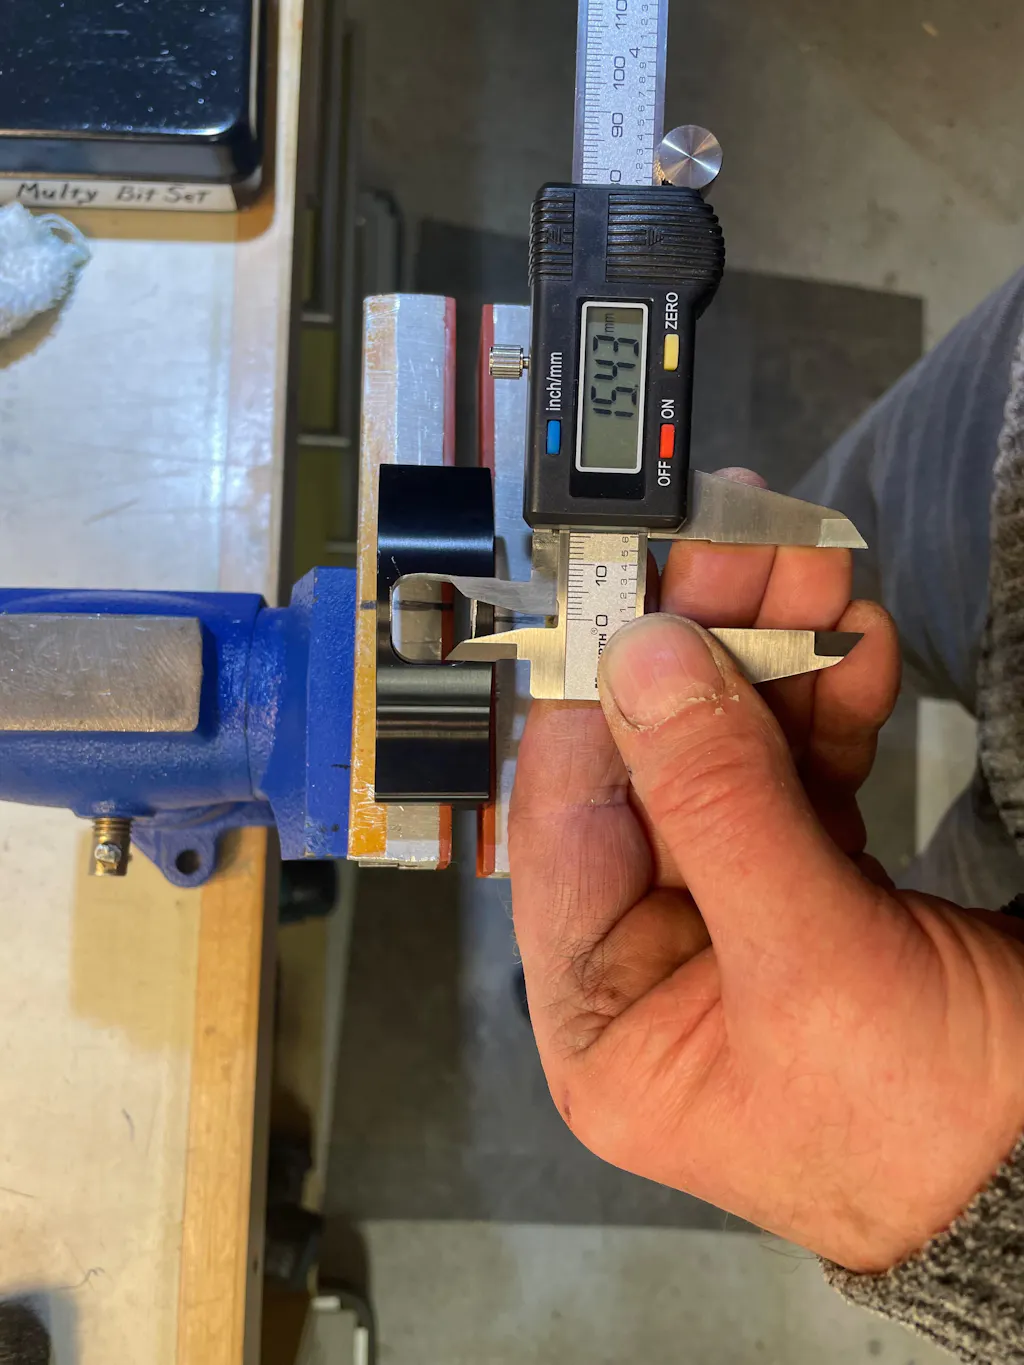
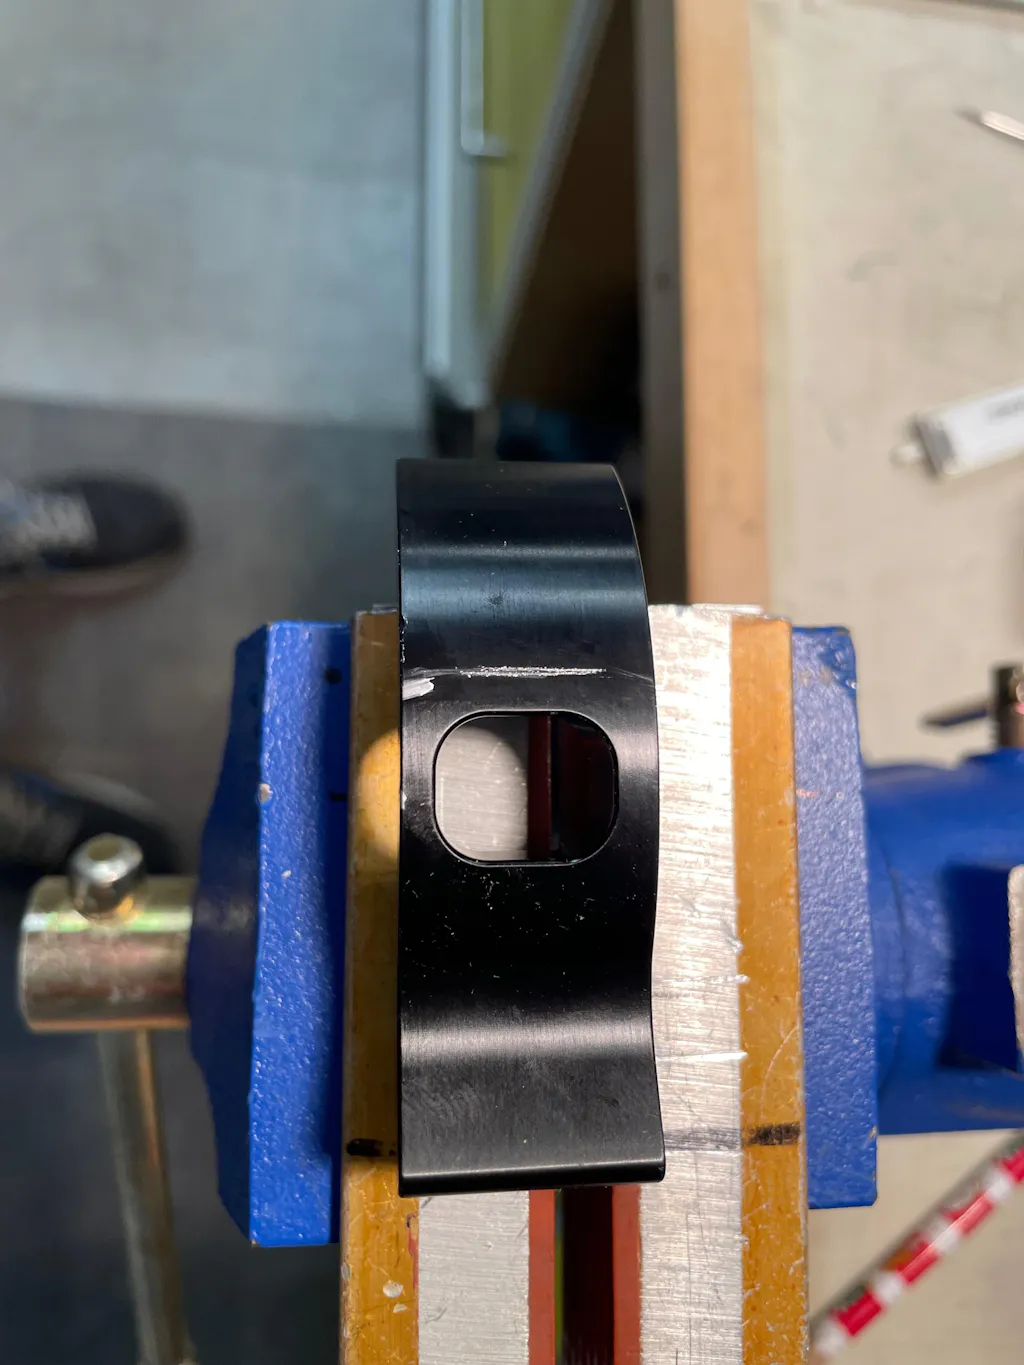
Precision Matters: The Ride Height Tool
You cannot manage what you do not measure. Every time you change your gearing, adjust your chain, or swap a tire brand, your ride height changes. If your ride height changes, your trail changes, and suddenly the bike you loved feels "off."
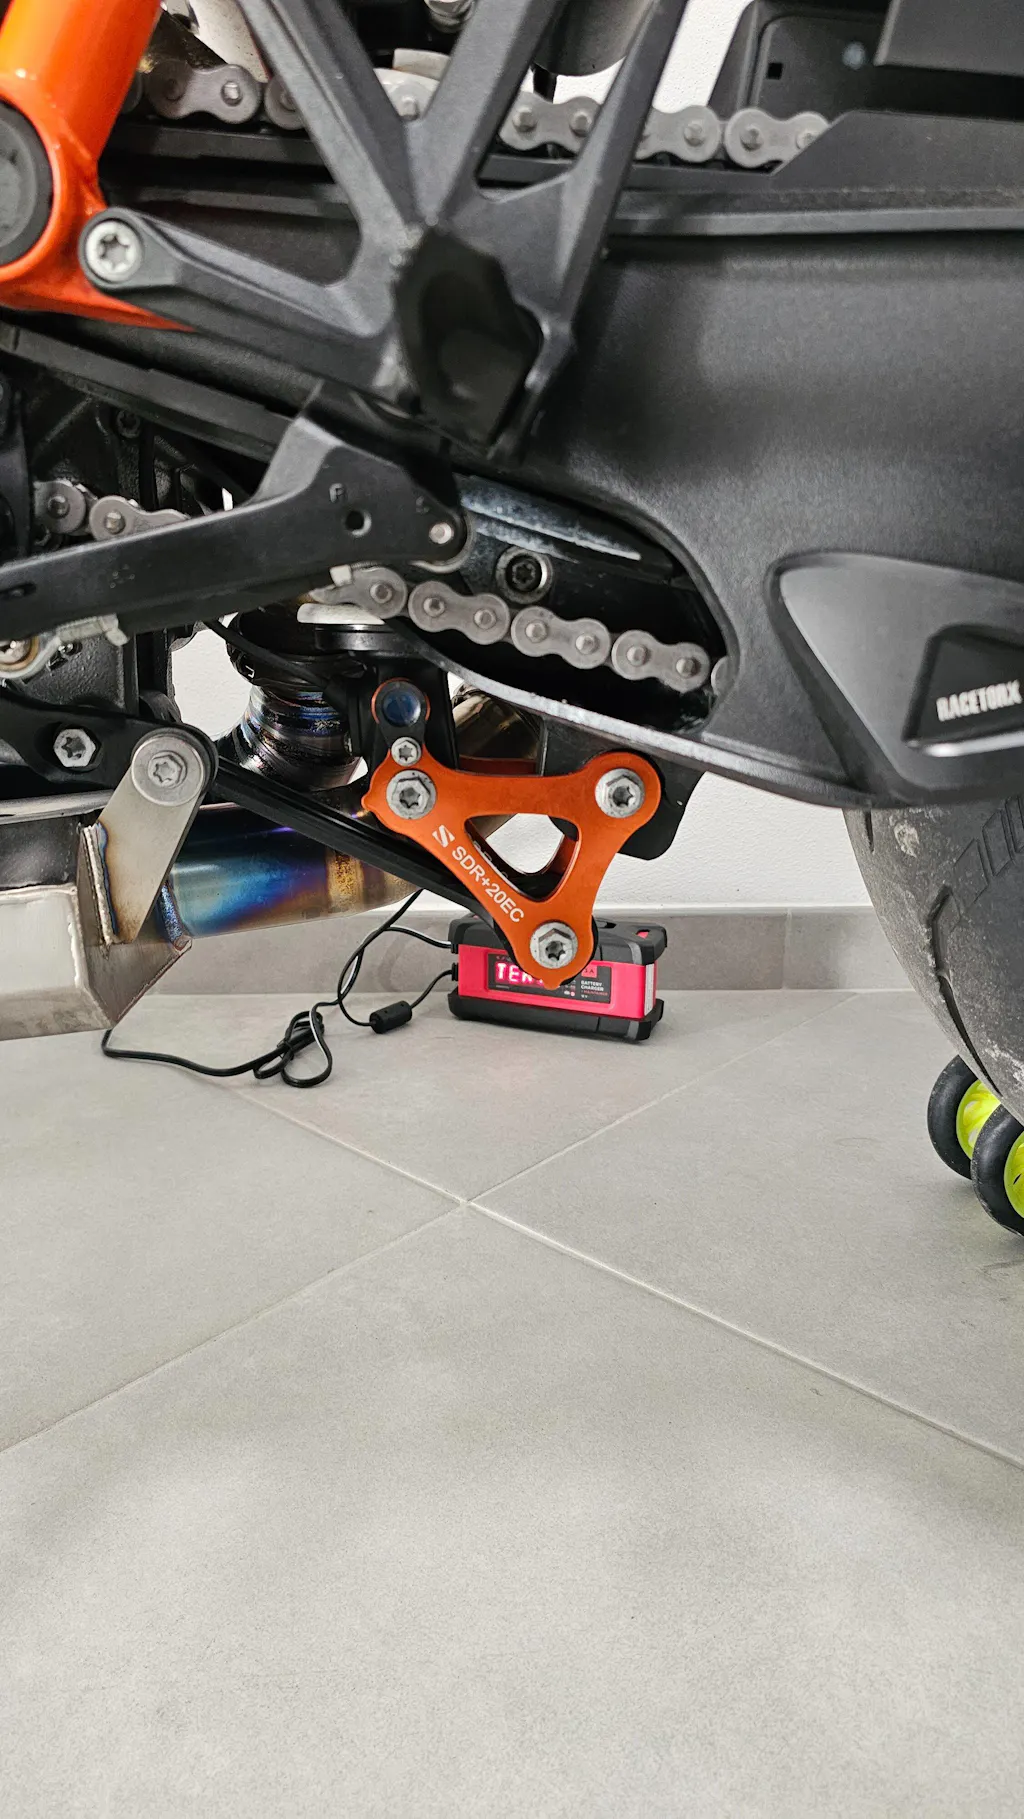
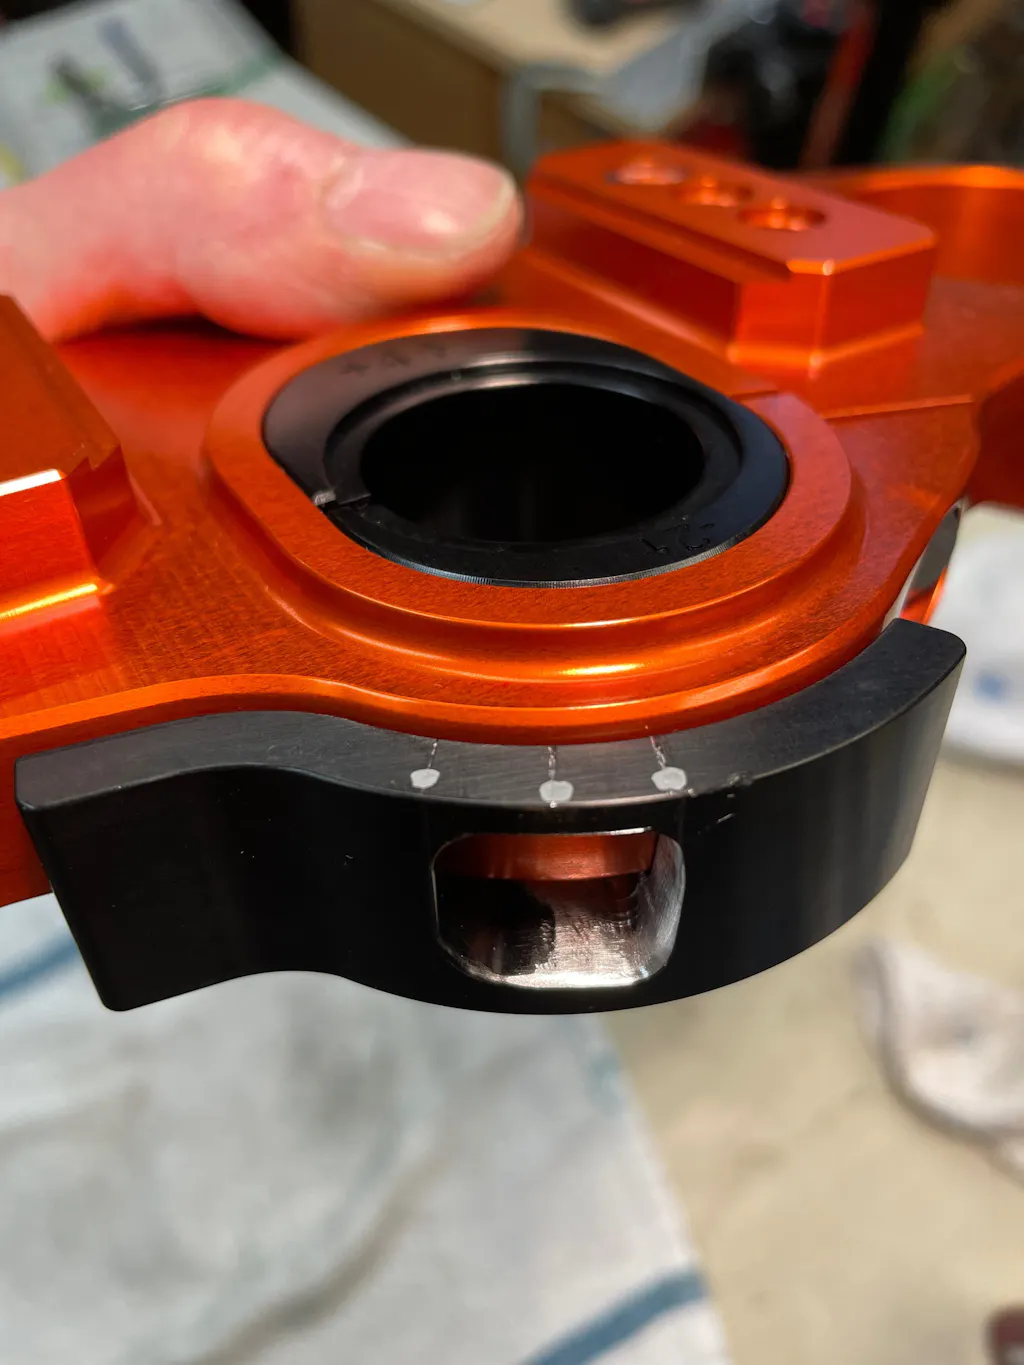
I spent 52 hours developing the Ride Height Tool. It’s a foldable, rubber-protected tool that fits in your toolbox and allows you to measure from the top of the axle opening to a fixed point on the frame.
Because I’ve shared my racing data with the community, you can take the measurement from this tool, compare it to my setup sheets, and know exactly where your trail is. It allows you to maintain that "perfect day" feel every time you roll the bike out of the garage. To use it properly, make sure the rear of the bike is supported by the frame (using something like the Super Jack) so the suspension is fully extended.
The Pursuit of Joy
At the end of the day, this isn't just about "geeking out" on numbers. It’s about joy. We only get so many hours on our motorcycles. Spending those hours on a bike that fights you is a waste. Spending them on a bike that responds to your every thought—that’s why we do this.
To see the full visual breakdown of these geometry changes and the "clock face" explanation of axle rotation, watch the full masterclass here: IMPROVE YOUR DRIVES WITH SWINGARM ANGLE & ANTI-SQUAT - New World Part 2.